![]()
2004.07 31
X B O X M e d i a C e n t e r
A Private / Independent Field Test Report
webmaster@air-arms.com


2004.07 31
The goal for this report is to present the successful "build up" of a chip modded XBOX
console intended to run as multi-format video player, based upon XBMC, XBOX
Media Center (
http://www.xboxmediacenter.de/ ), formerly known, during
beta/development stages, as XBMP, XBOX Media
Player. Thanks to K.
for the insipiration and equipment selection tips..
List of components, prices and place of purchase
-
1 XBOX Crystal (limited edition), 173.49 EUR, http://www.worten.pt
-
1 XBOX official DVD kit (IR and remote), 30.99 EUR, http://www.fnac.pt
-
1 X-B.I.T Mod Chip, 47.50 EUR (inc. shipment), http://www.divineo.es
-
1 HD Seagate Barracuda 120 GB, 78.50 EUR, http://www.chipsite.pt
Overall total: 330.48 EUR
Main project goals could have been be achieved within a smaller budget of
just 197.50 EUR - approx. 150.00 EUR for a new simple pack XBOX
plus 47.50 EUR for X-B.I.T Should you be able to get a 2nd hand XBOX on the
100 EUR region the budget could even get bellow 150 EUR. The remote
command can be replaced with the use of the controllers and extended storage
can be used, in particular for multimedia, via network share on a existing
local pc / server.
Main project tasks in working sequence
1. Setting up
standard XBOX; General working test;
2. Setting up X-B.I.T Chip (cut write protection tab, connect
cables);
3. Format and upload selected BIOS [*] to the X-B.I.T using USB
link;
4. Open XBOX (warranty void) with torx set of 10, 15 and 20 size;
5. Remove Hard Disk Drive and DVD Drive exposing console
mboard;
6. Install X-B.I.T Chip with special care for the "D0" alignment;
7. Boot console to check that modchip and selected BIOS is running;
8. Refit drives and boot console with auto-installer tools on RW
media [**];
9. Backup original disk to PC via FTP access;
10. Reopen console and replace original hard disk with new
(larger) one;
11. Boot console with auto-installer tools on RW media [**];
12. Format and setup the new large hard disk;
13. Setup new Dashboard and Utils for system management [**];
14. Obtain XBMC, Xbox Media Center binaries and transfer/setup
[***];
15. Run XMBC (add. config of SMB client to access NT network shares);
16. Fit IR/Remote Command kit for easy/comfort of use;
[*]
ref.:
"EvolutionX.M8.Bios.rar" (approx. 0.4MB)
[**]
ref.: "SlaYer's EvoX
Auto-Installer v2.5FINAL.iso" (approx. 215MB)
[***]
ref.: "[XBOX]
XBMC 1.0_Released june 29.2004.rar" (approx. 18MB)
Setting up...

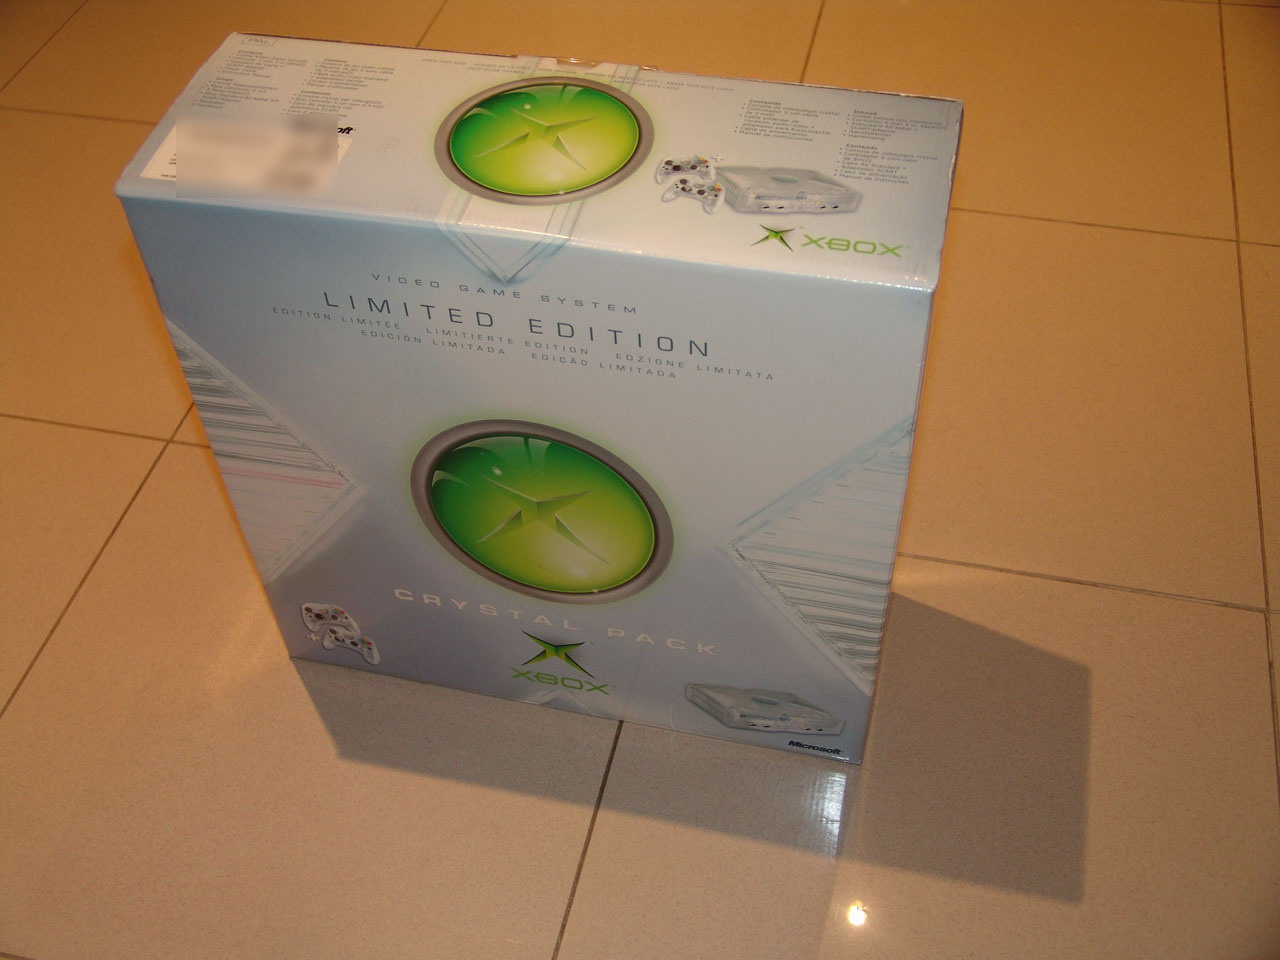
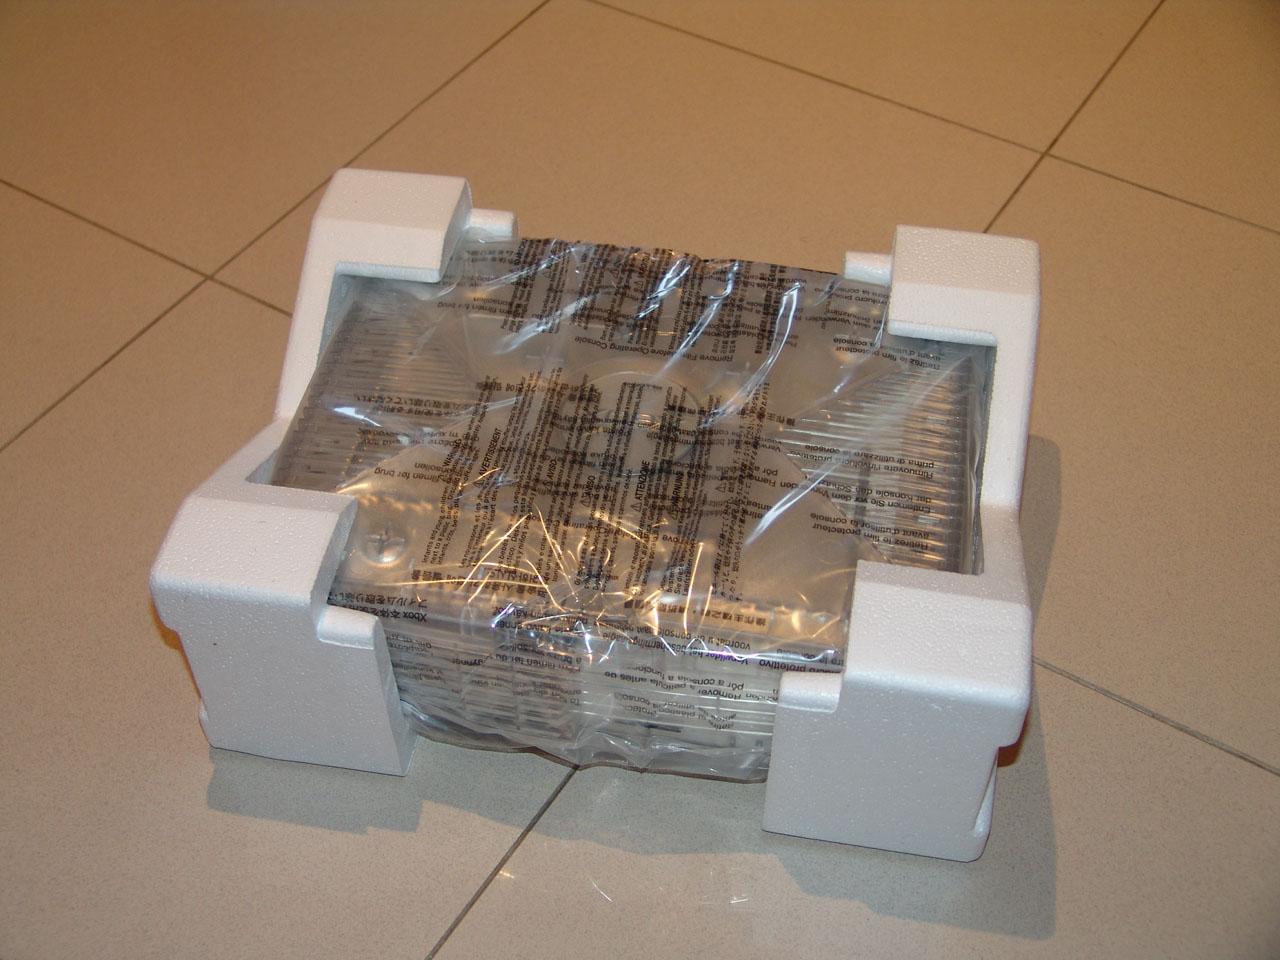
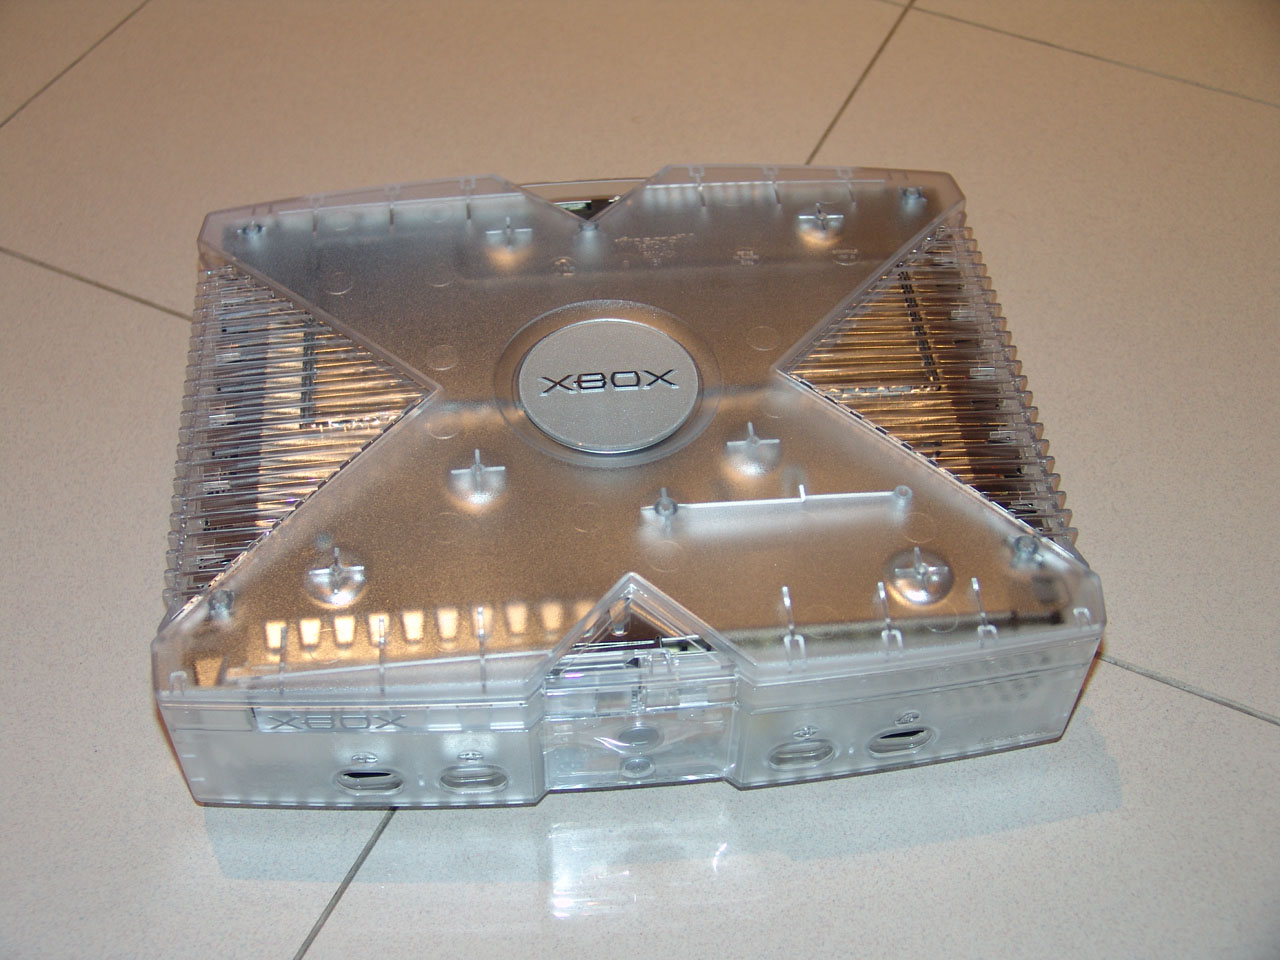
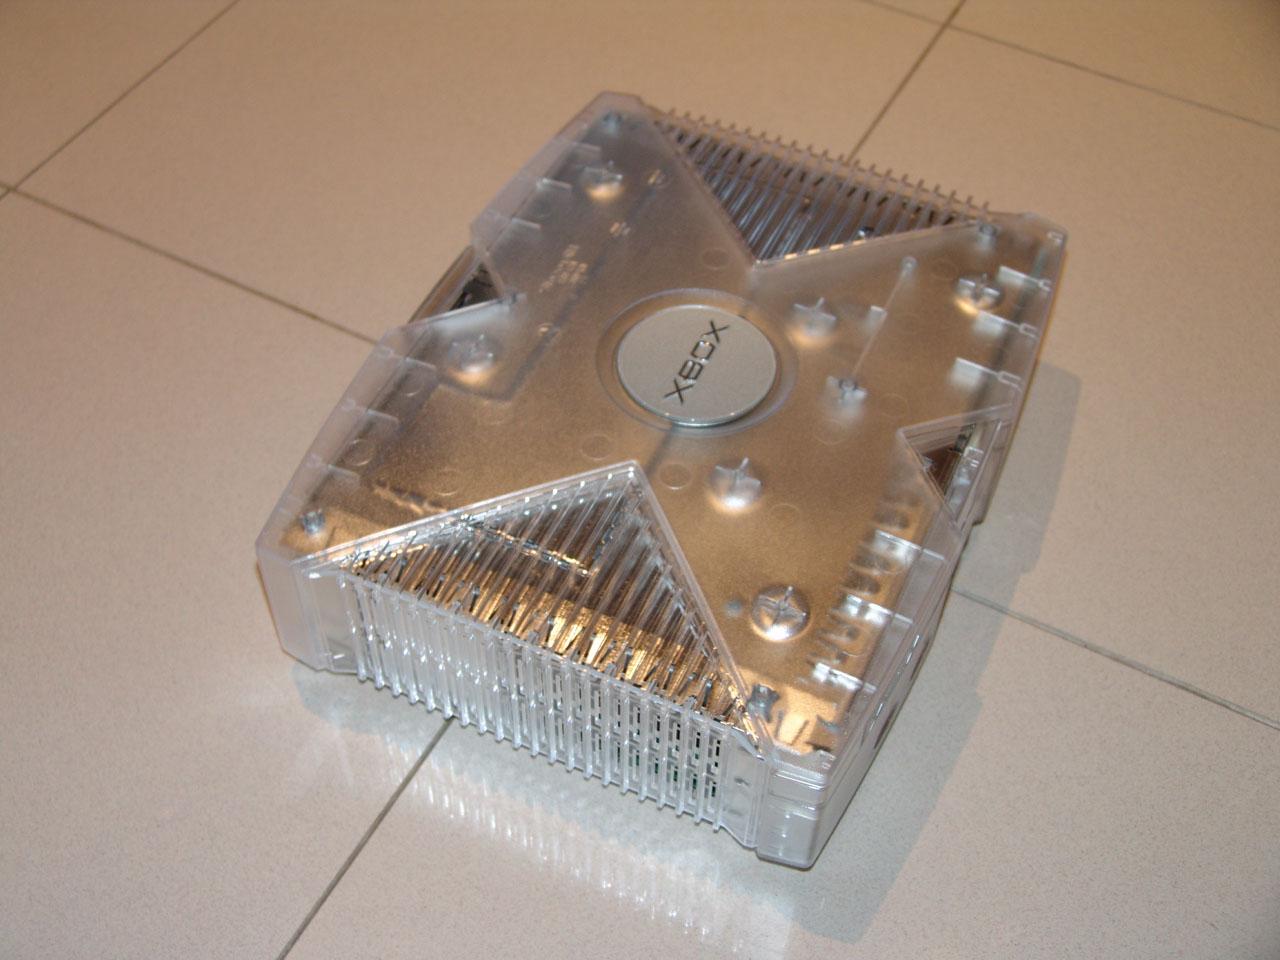
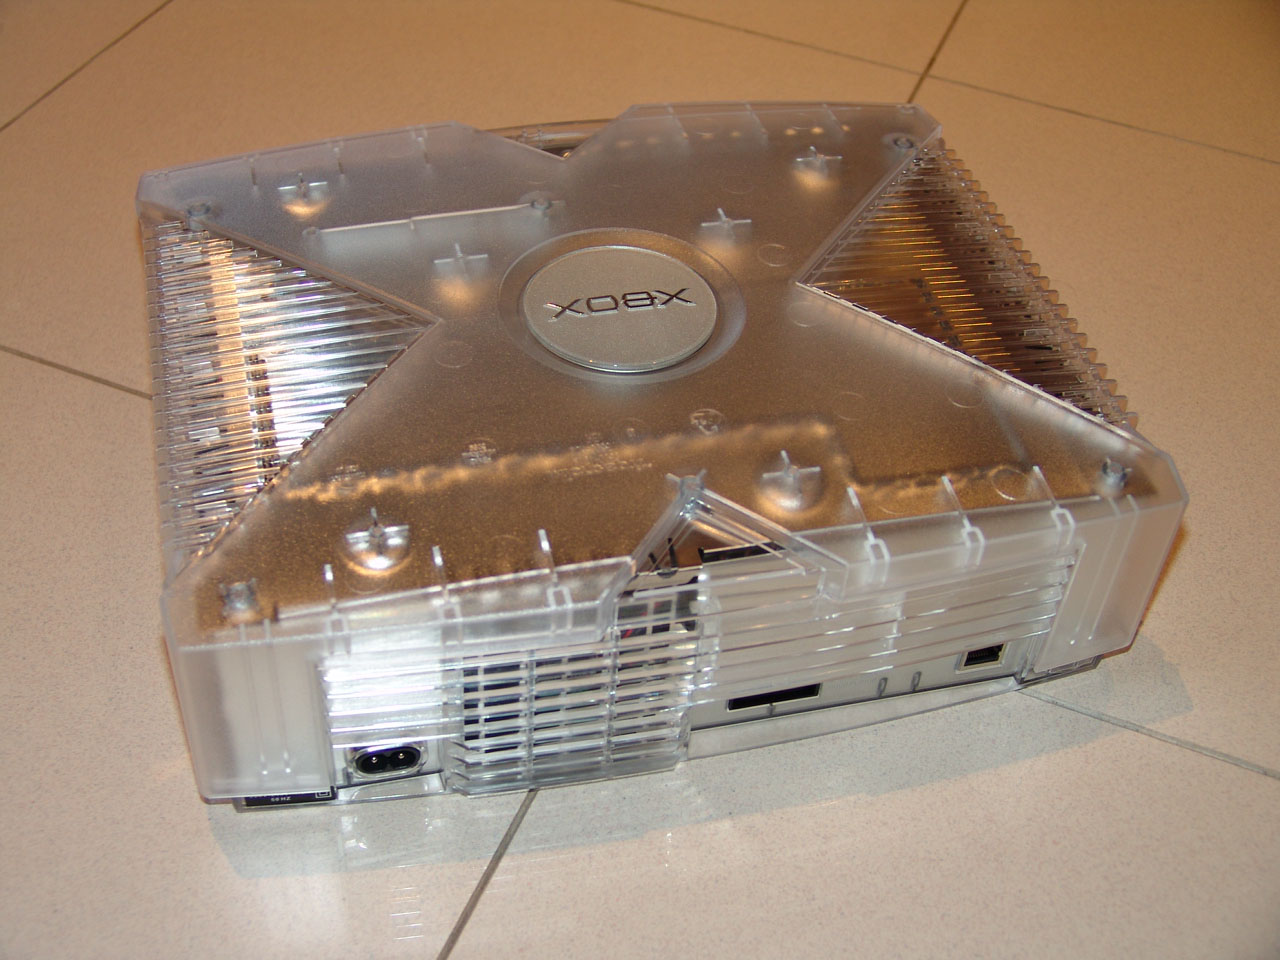
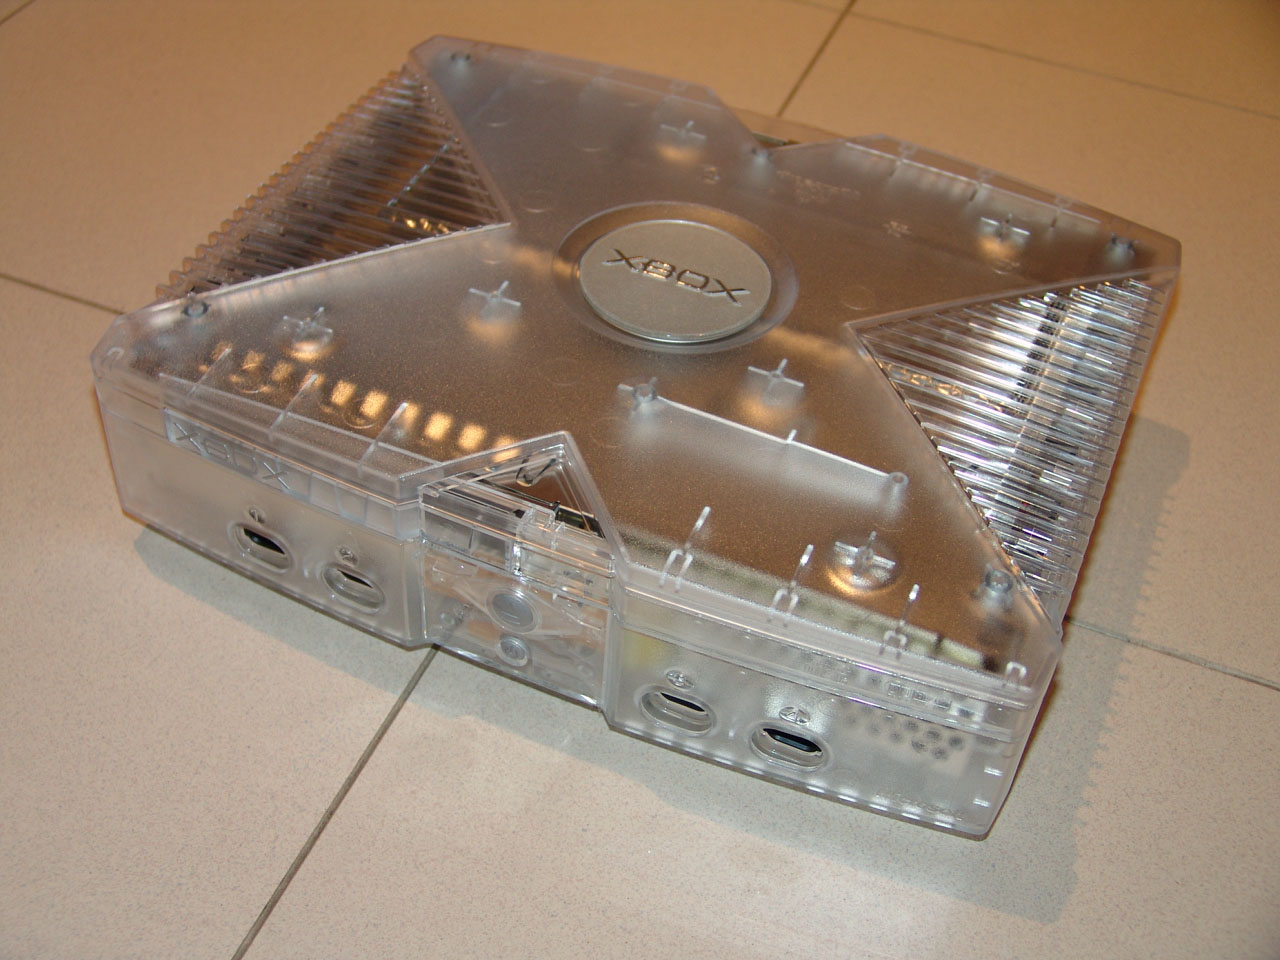
Opening up the XBOX Crystal (Limited Edition) package.
The crystal, transparent / clear case looks very cool.
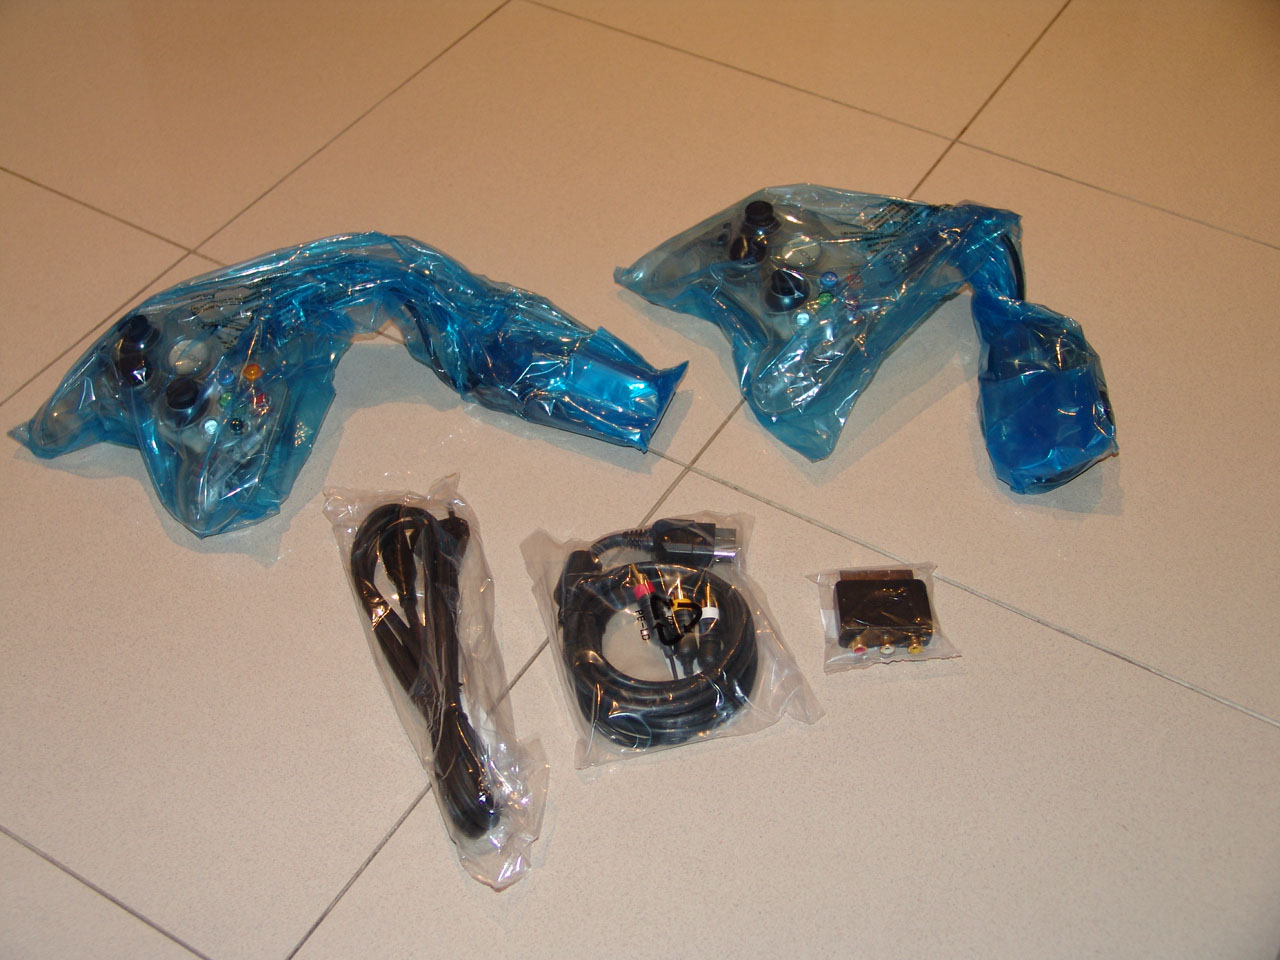
Included in the package are the power and A/V cables (with SCART adapter and
separate L/R audio plus composite video) and 2 controllers.

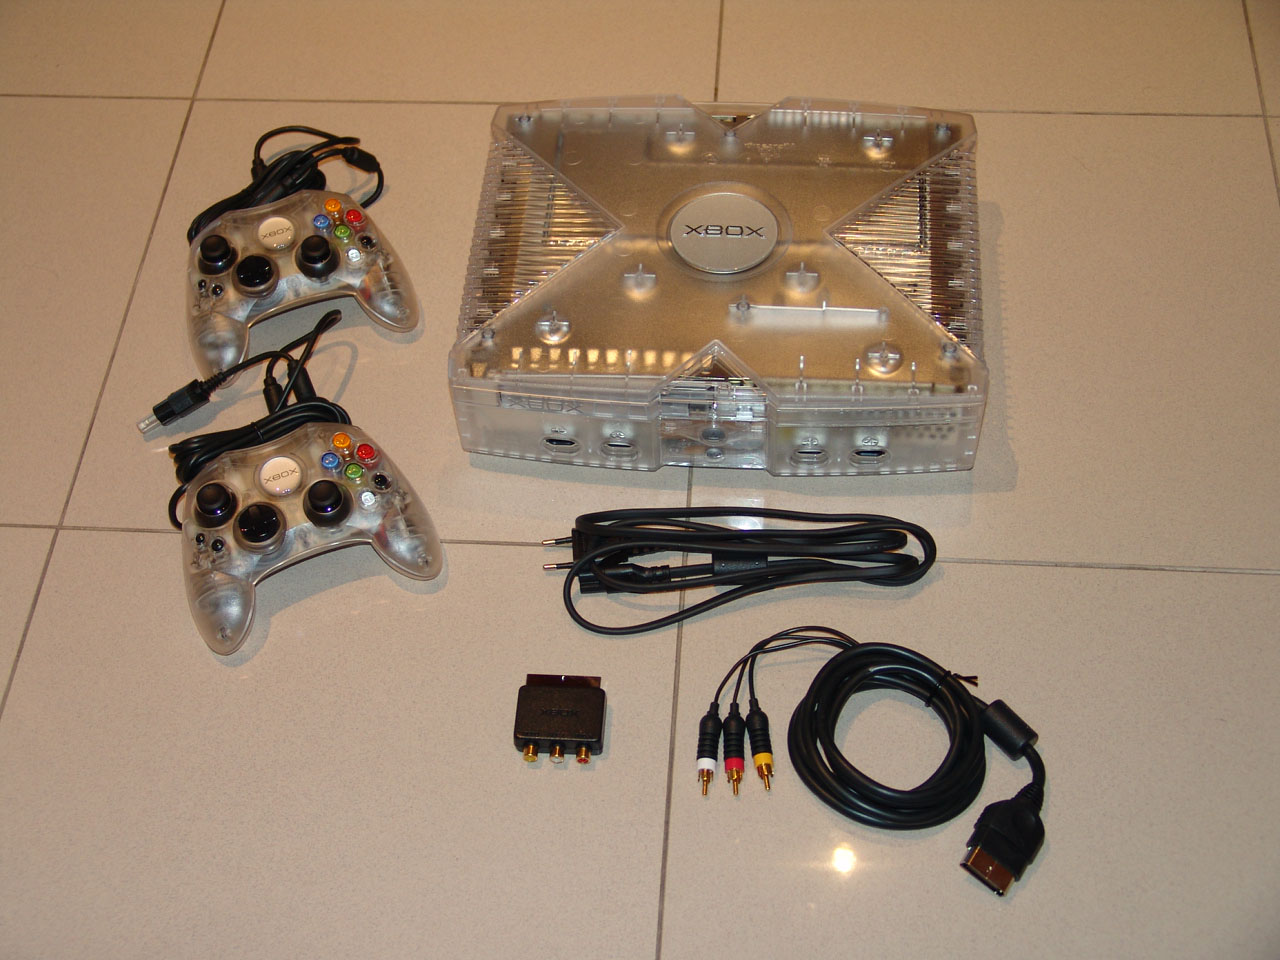

Details of the 2 included controllers and the set of A/V cables.

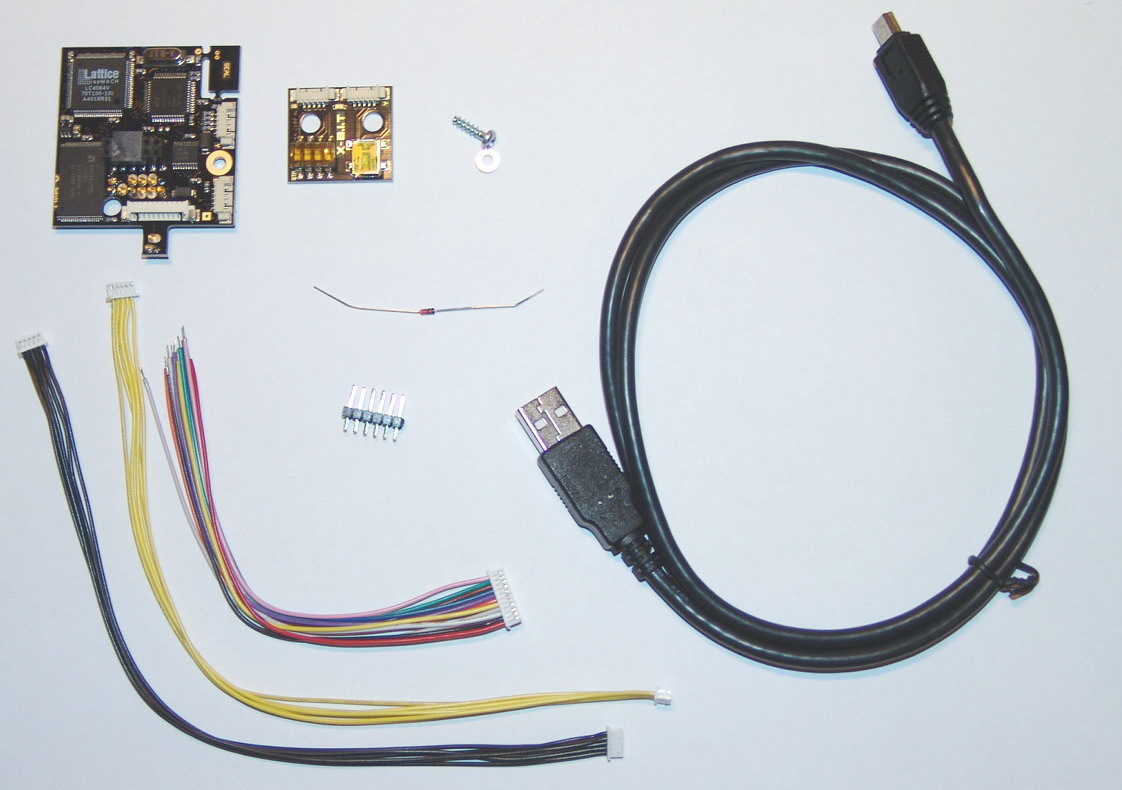
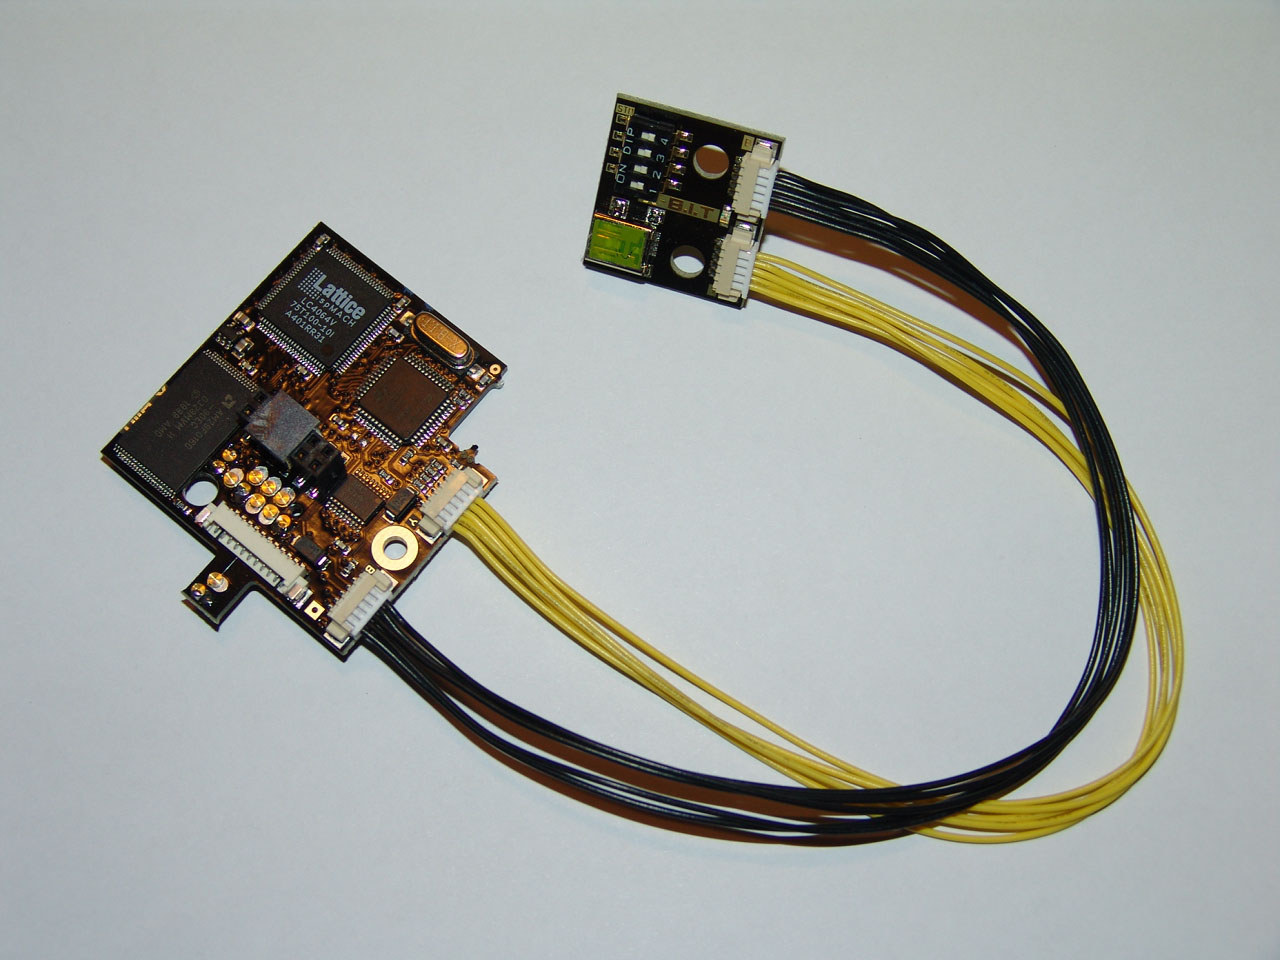
The X-B.I.T mod chip full set. Package contains the main chip and
daughterboard, set of yellow and black cables that will work as connection
from the main chip motherboard with the (to be external) daughterboard. Also
included is a USB cable for connection with a PC for format and uploading of
new BIOS (that can and should, on the first setup, be done "as is", still
outside the console). A overall 2 MB is available allowing several different
BIOS to co-exist (DIP Switch on the daughterboard allows easy
select-run-test). Additional cabling and components are fitted for optional
(disregarded) soldering oriented setup.

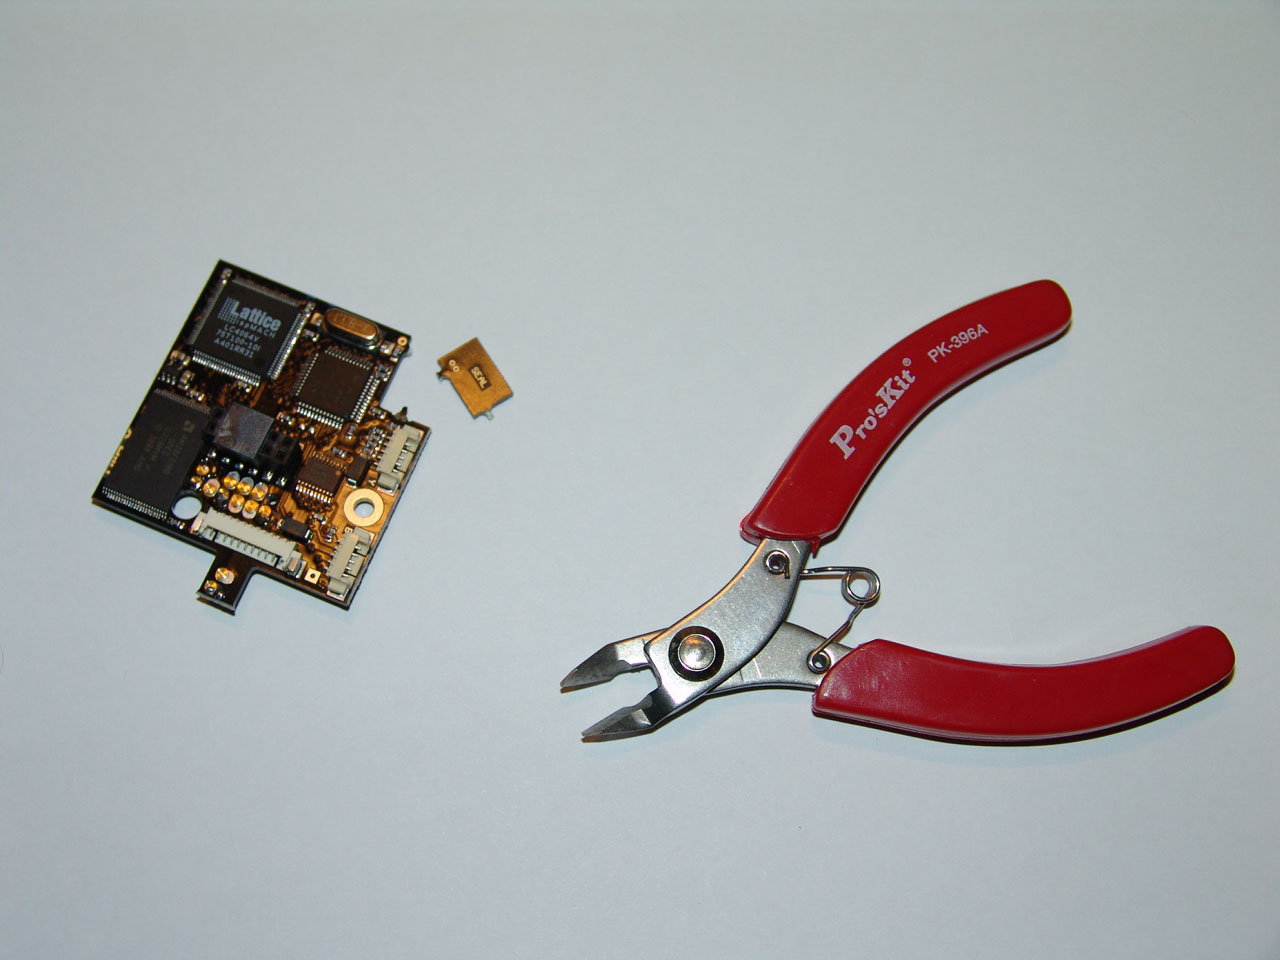
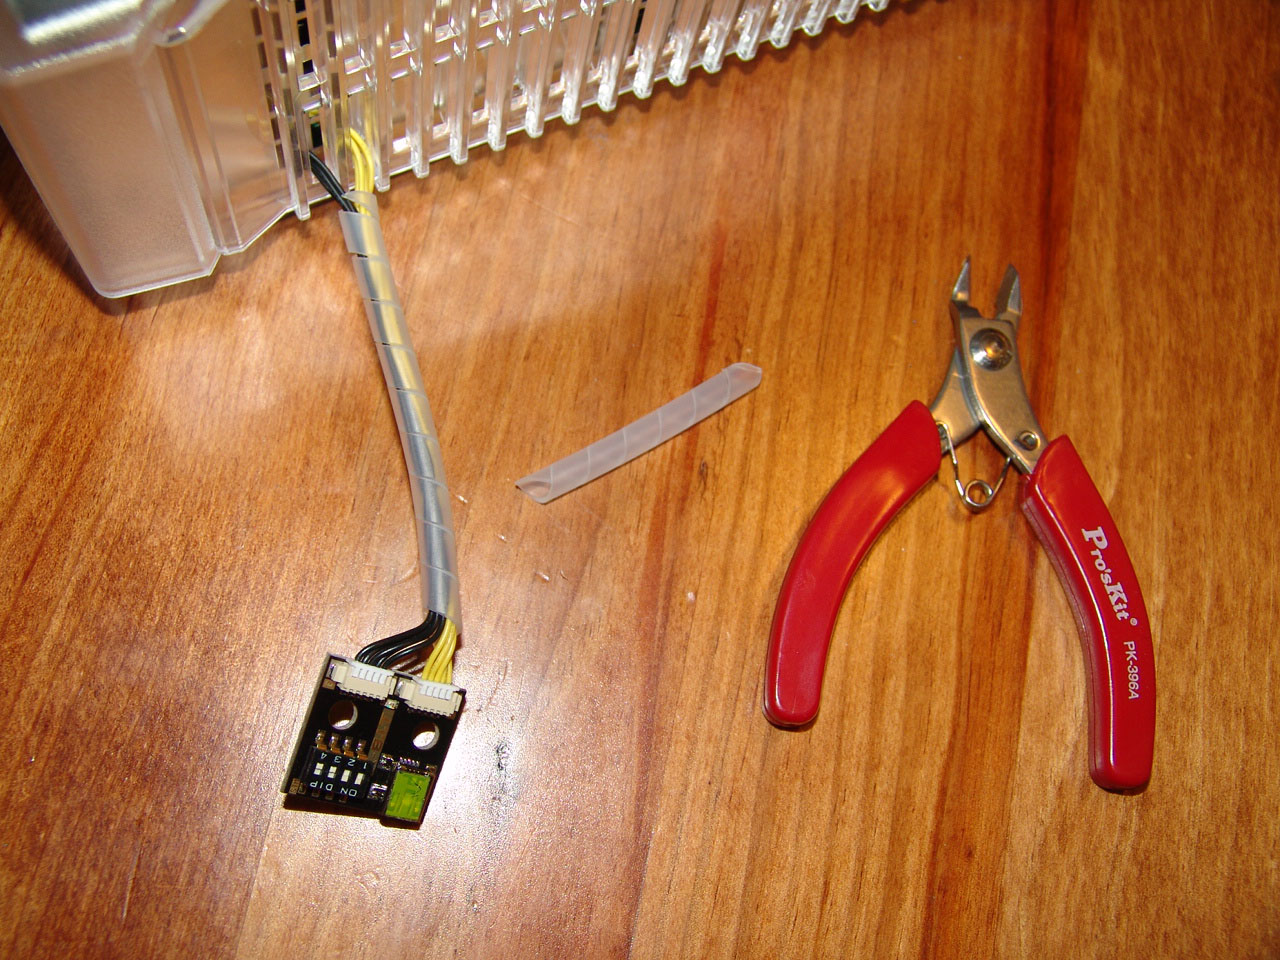
Cutting the write protection "seal tab" is mandatory to proceed. A simple
yet "hard way" to show if a chip was (or not) used before.
Please make sure you use proper tools and care to avoid damage to the board
and, on the other hand, to ensure that the cut is clean and close - the
fitting on the XBOX motherboard must be precise and any excess materials
left from a "generous" cut can prevent the correct fitting.

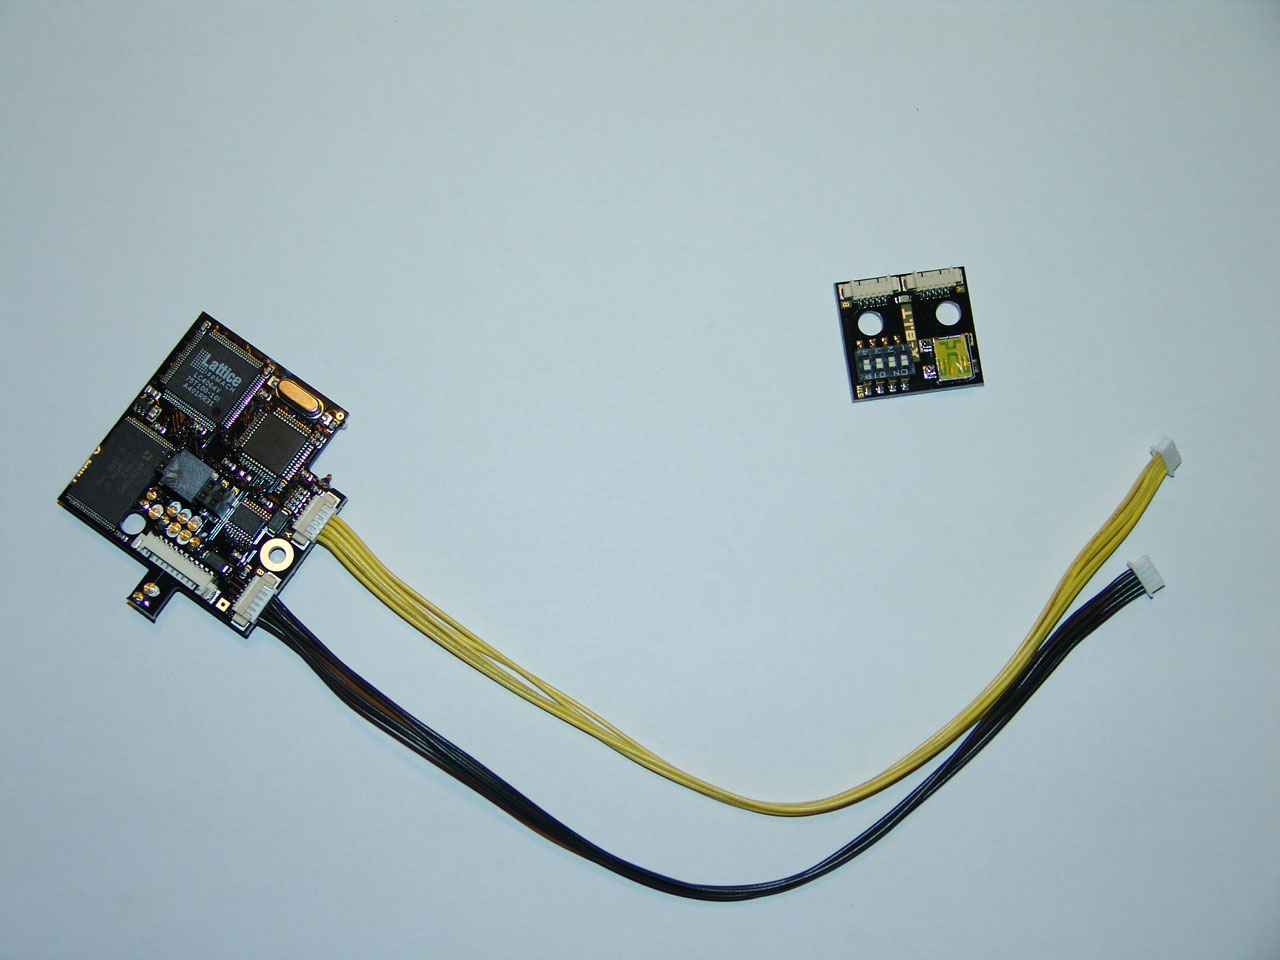

The yellow and black connection cables between the X-B.I.T main and
daughterboard. USB cable (mini USB type on the daughterboard plug). We now
have all the connections ready to connect the X-B.I.T to any common PC with
a USB port, and, using the X-B.I.T manufacturer's software, format it and
upload a selected BIOS to it. For BIOS related support please check:
http://www.xbox-scene.com/bios_retail.html and
http://www.evolutionx.com . EvoX M8
was the option selected for the BIOS.
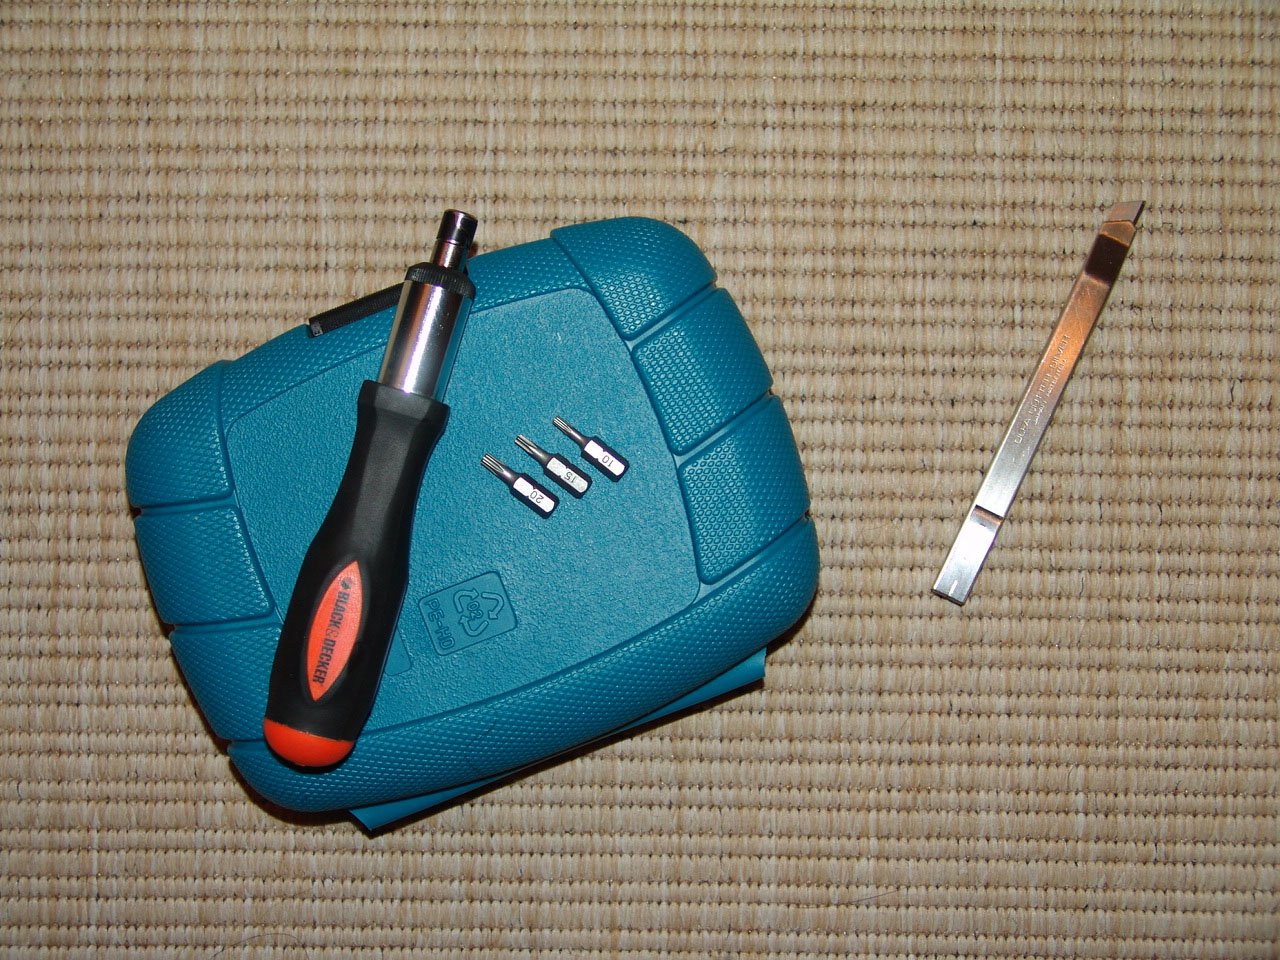
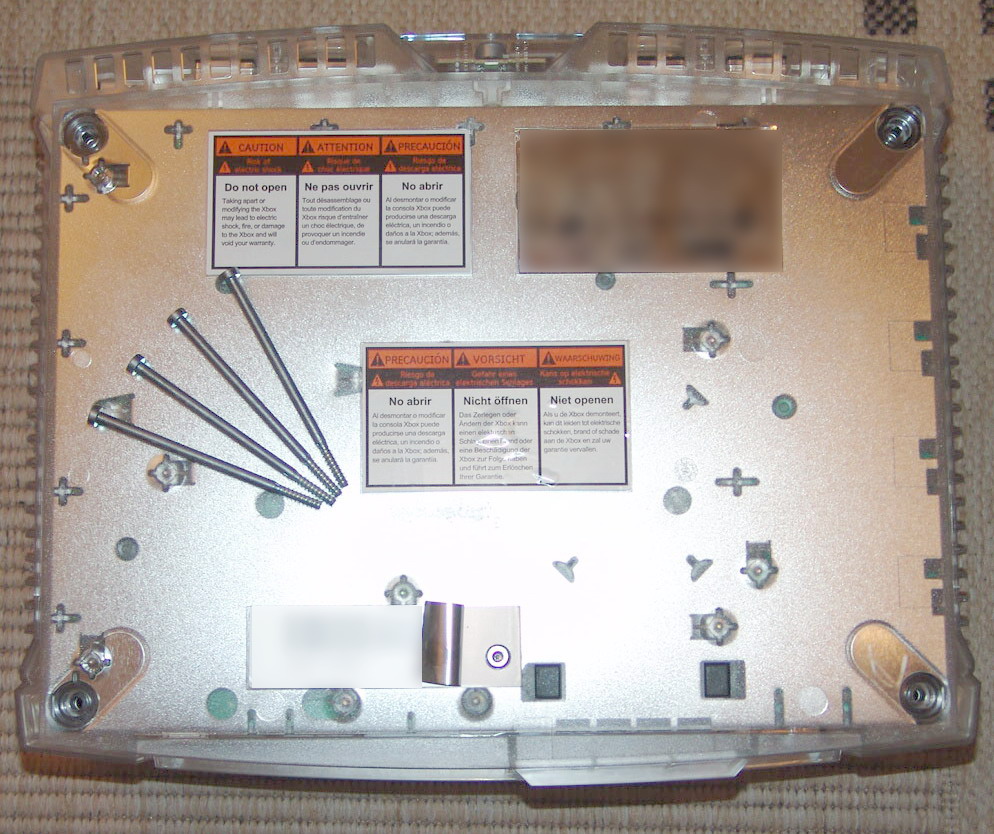

Opening the XBOX case. Make sure you have a set of 3 Torx screw drivers,
Torx size 20 for the 5 outside screws (marked with red circles and arrows on
the last photo on the right). Torx size 10 for the support screws on the
inside (one between the hard disk and the dvd drive, two on the dvd drive
lower support structure). Torx size 15 for the internal side screws that hold
the HD on place. A small cutting tool to help out with the stickers and,
later on, a regular Philips screw driver will be required (fix the
X-B.I.T modchip in place).
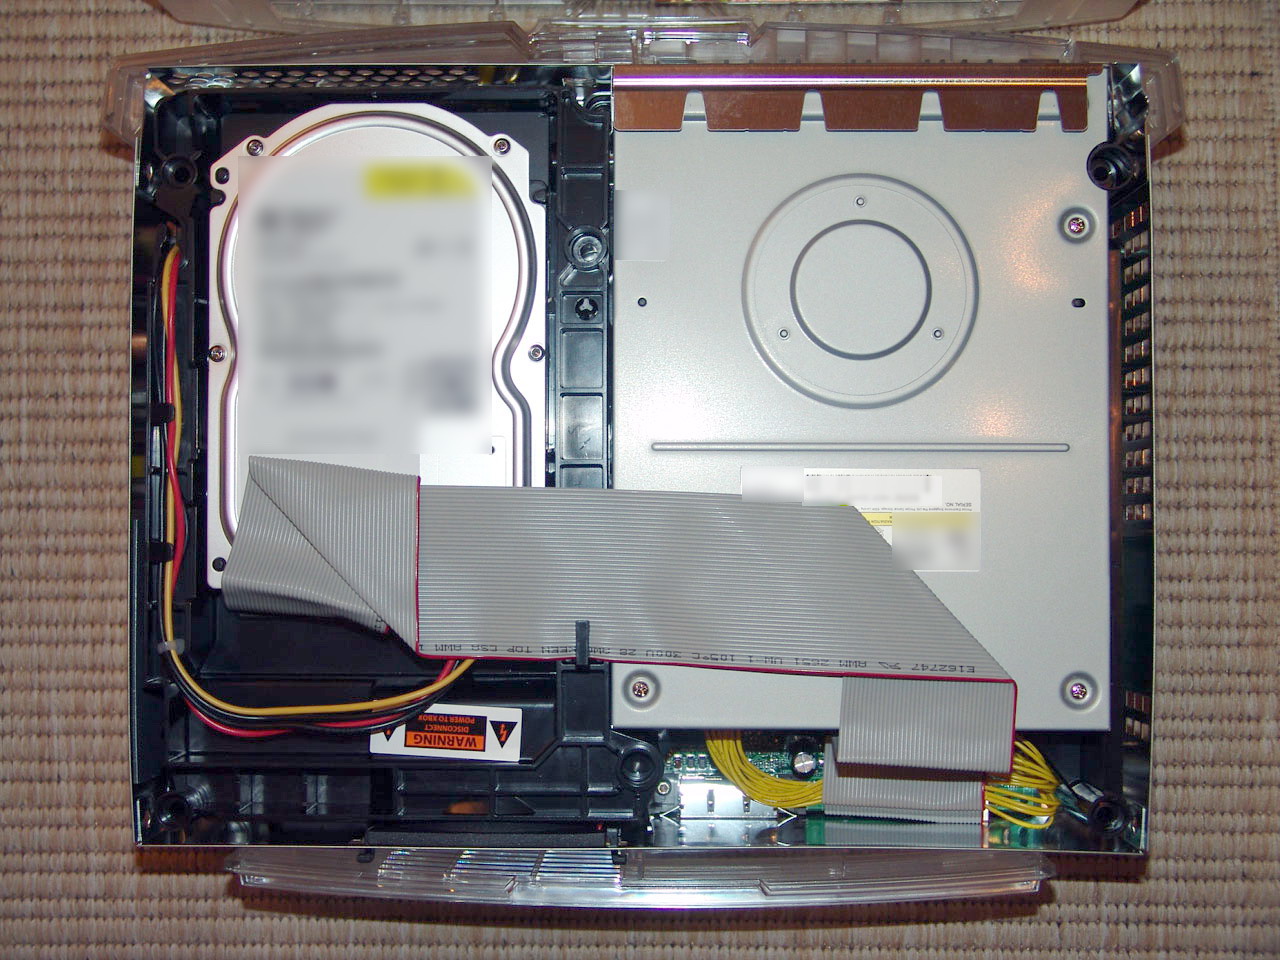

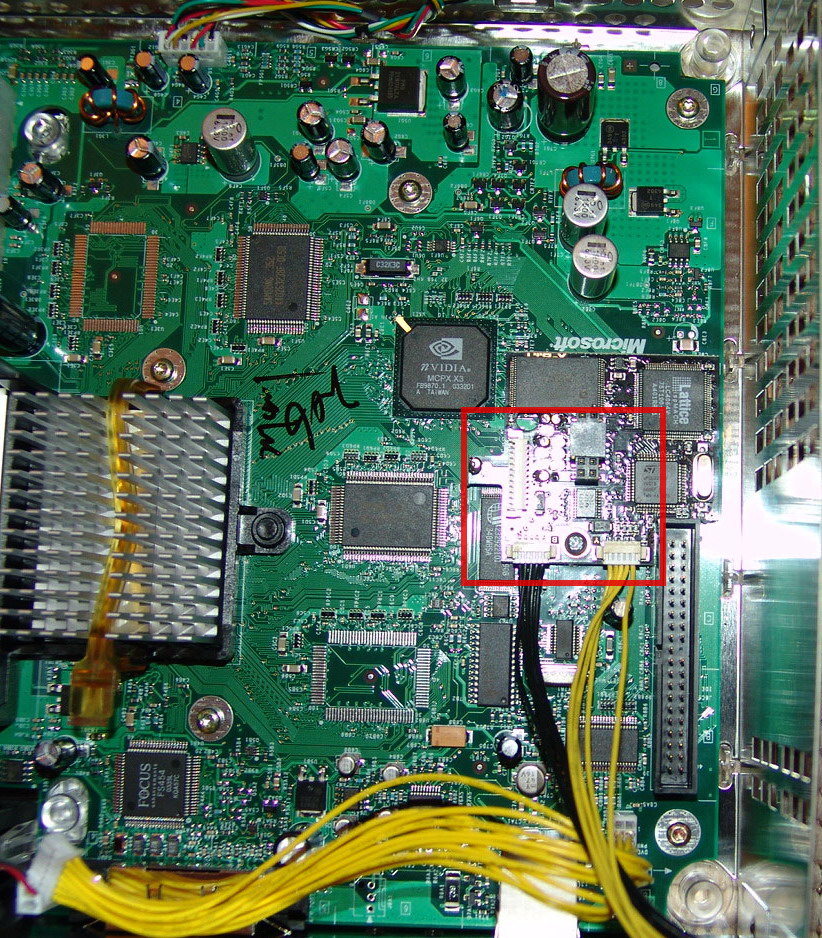
XBOX opened. Removing the Hard Disk drive and the DVD drive.
Full access to the motherboard granted and solder less modchip fitted in
(last photo, within the red square), using pressure pins (pogo pin) on the
appropriate spots of the main board. This is the most tricky part of all the
project. Make sure you study in detail all the close up photo diagrams from
X-B.I.T manufacture's site,
http://www.dms3.com , in particular the one that shows the "D0" spot on
the main board (photo bellow (c) DMS3.com) .
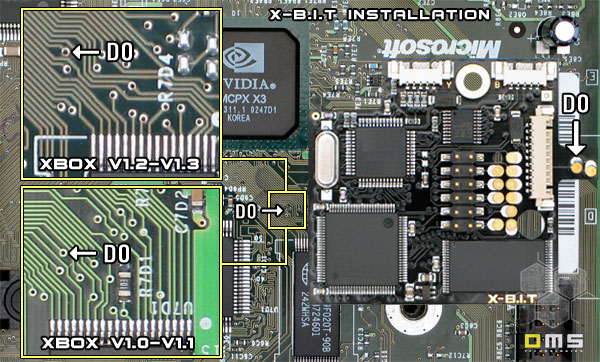
The "D0" critical spot.
Photo (c)
DMS3.com
If the X-B.I.T connection to this tiny
spot is not micro-correct the XBOX will boot "plainly" and not use any of the
chipmod features - in particular the selected BIOS. Make sure you use a well
placed and vivid source of light (a Maglite or SureFire torch can be used
with great efficient result) to ensure proper positioning. I insist, this is
the top tricky part of all the setup. It's not unusual, even for the
experienced hardware and electronics professional, to be forced to repeat
the fitting by trial-error approach, 2, 3 or more times. Just be patient and
have a good light source and a close detailed view on the diagrams from
DMS3.com.
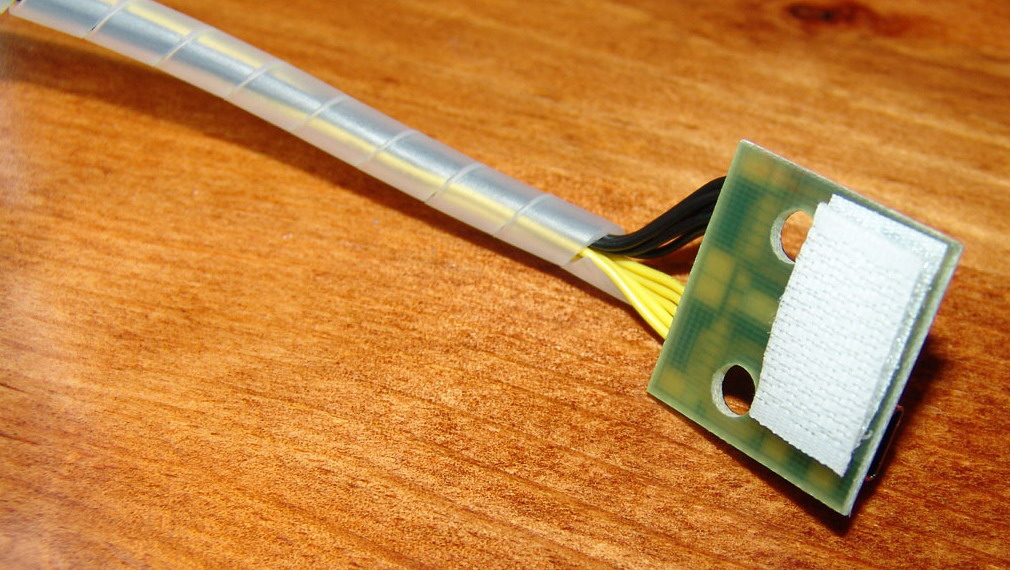

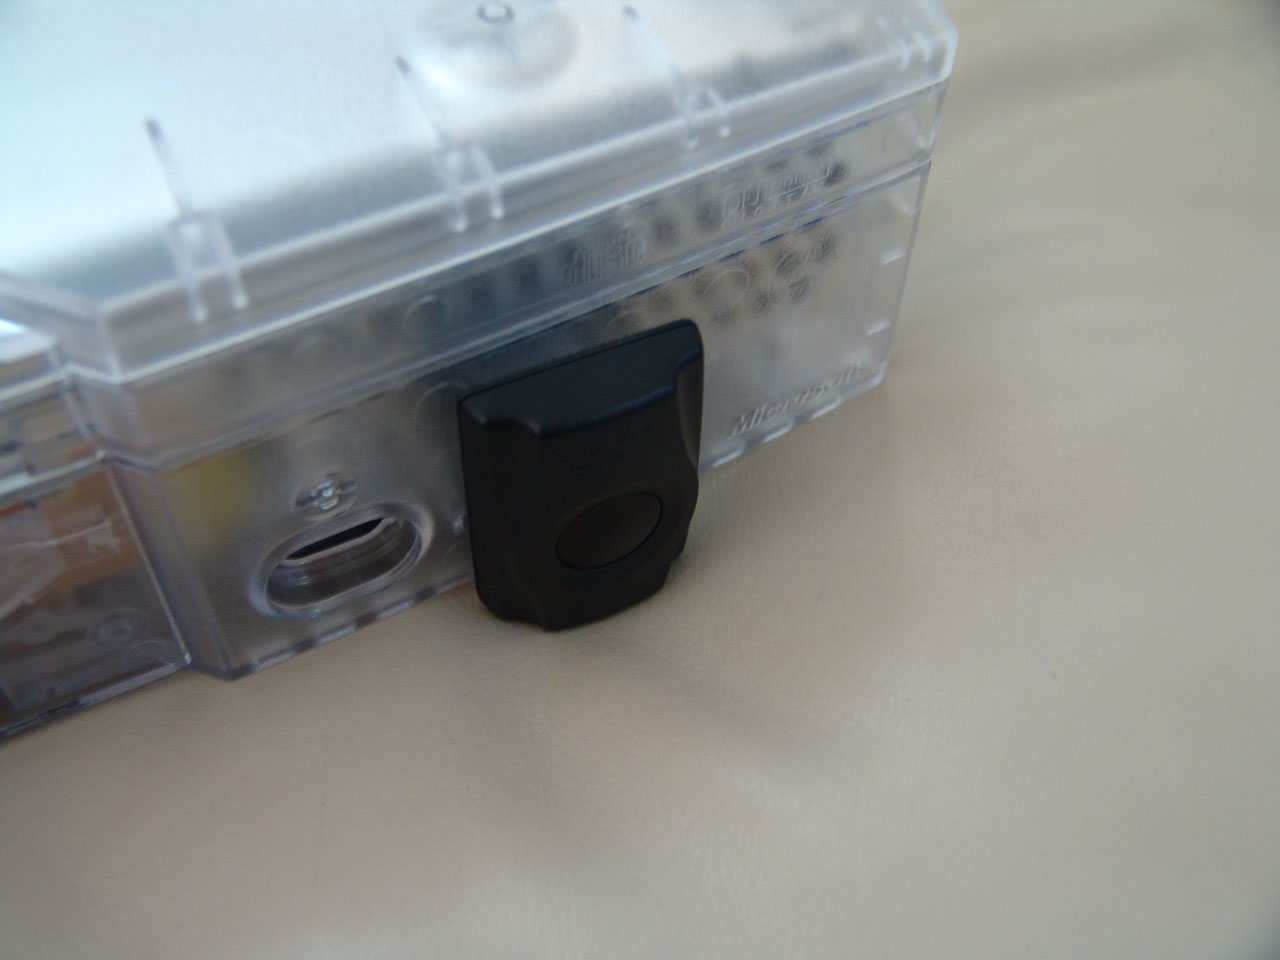
Special care was taken on the external finishing and protection for the
X-B.I.T chip and, in particular, of the pending cables. Spyro band plastic cord
was used all around the cabling
(for protection and tidiness), and Velcro sticker for easy, non permanent
grip of the daughterboard to the back side of the console chassis.


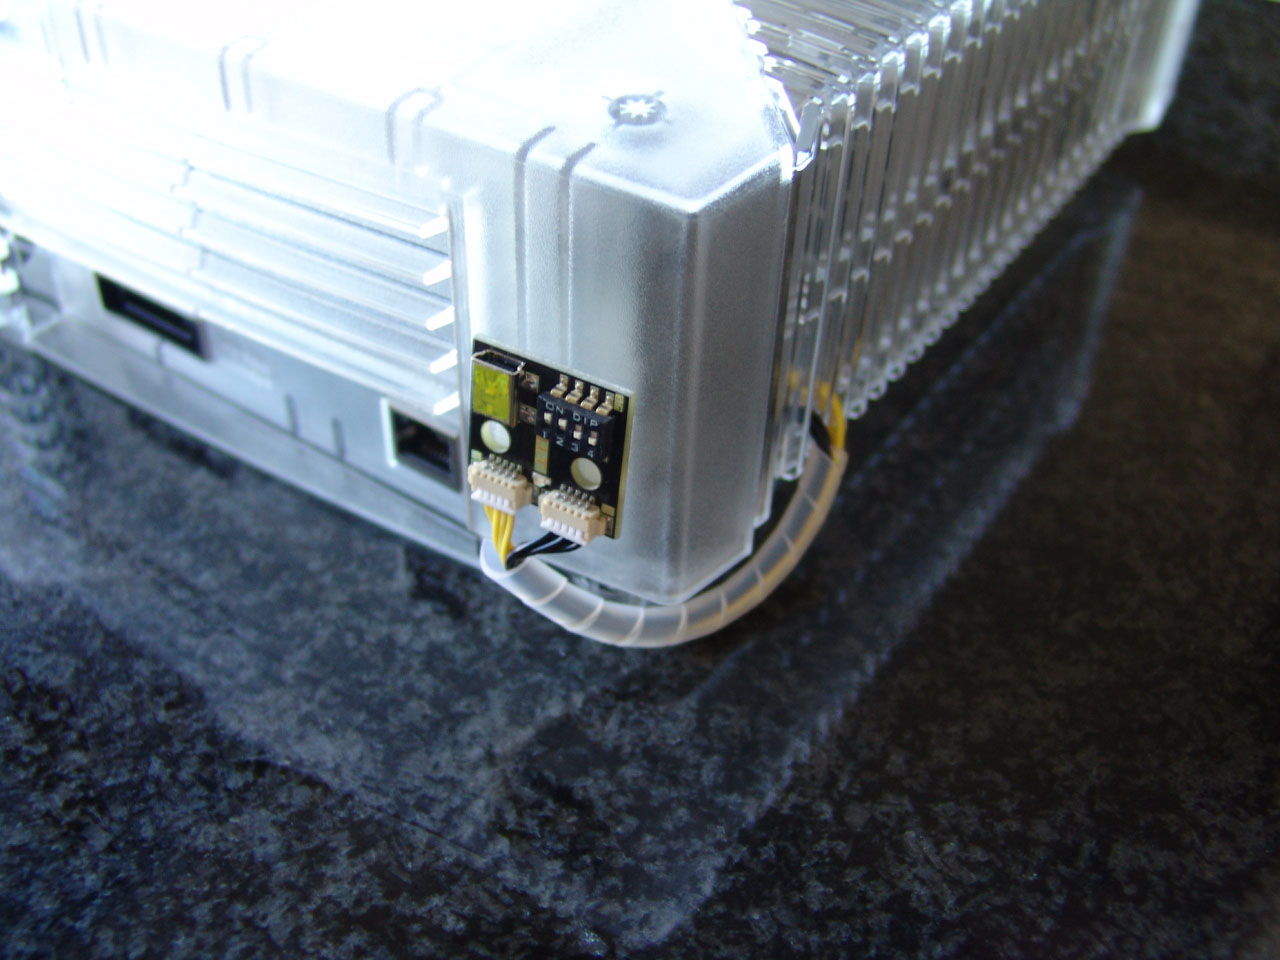
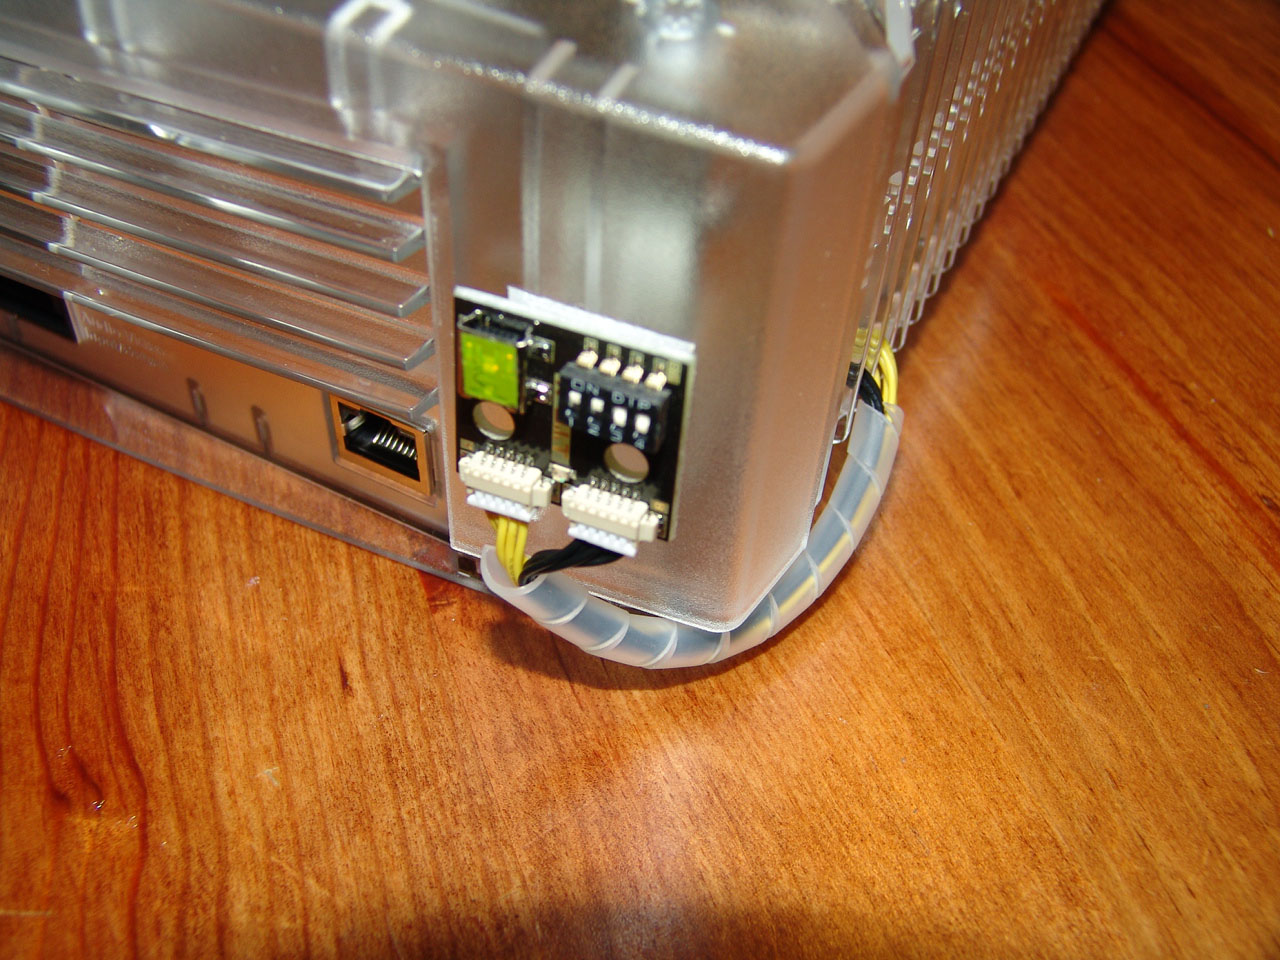
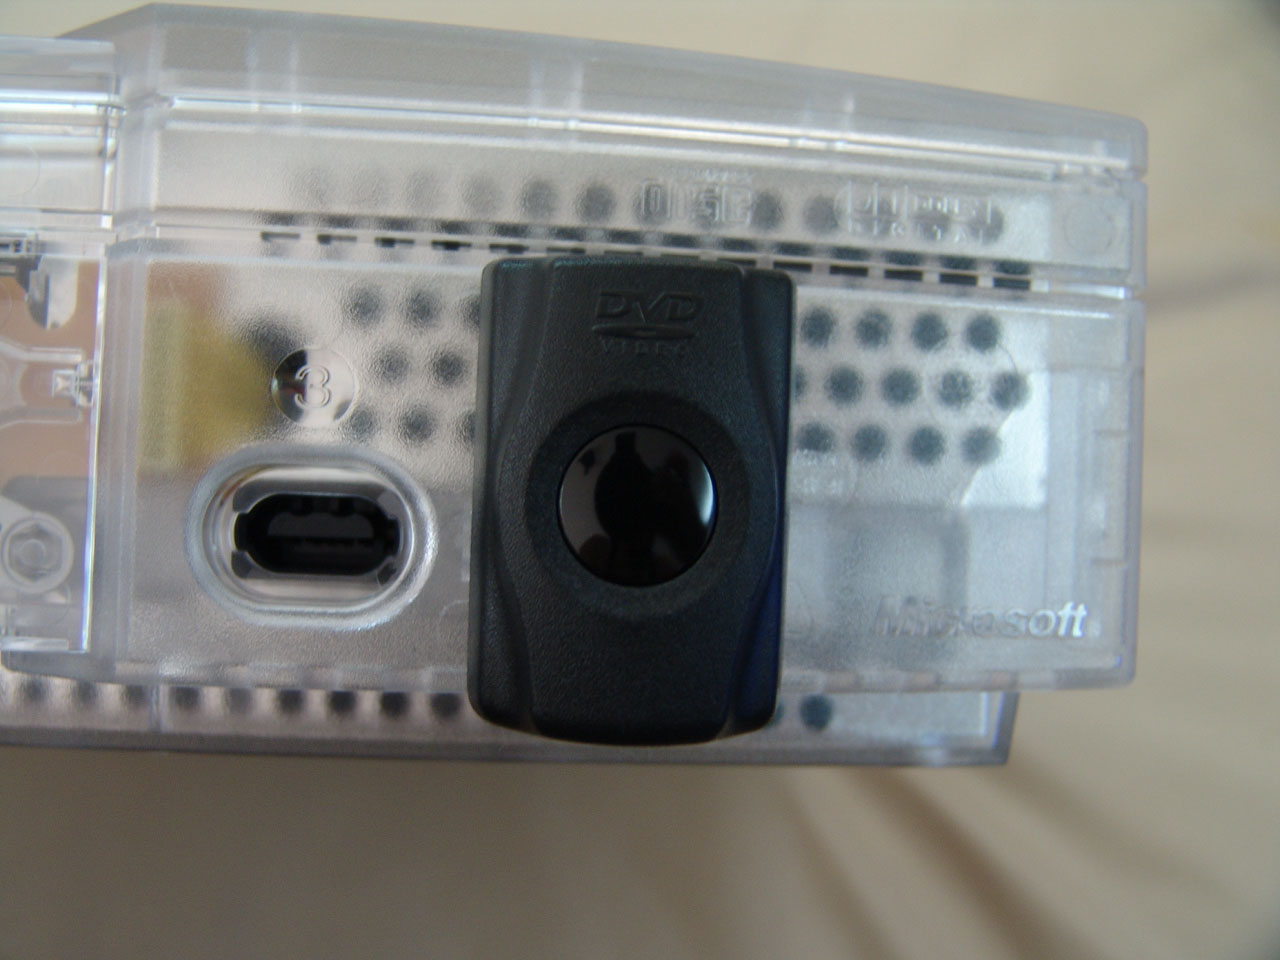
All stickers (code bar, serials, warnings etc) were removed from the lower
back side of the XBOX. Crystal on all sides. Last photo on the right shows
close-up detail on the finishing of the external controller for the
X-B.I.T.

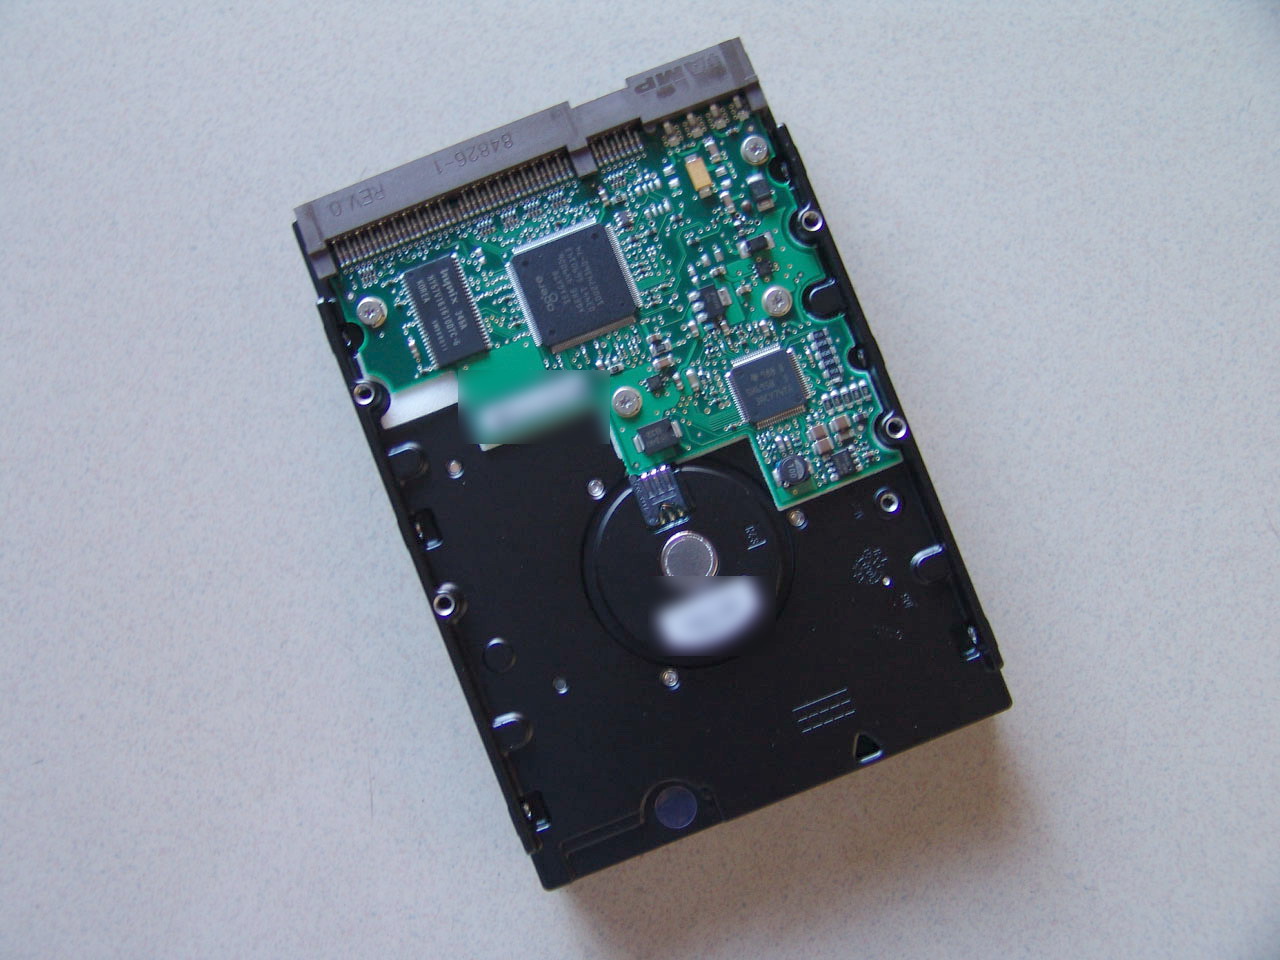

Replacement hard disk. A Seagate Barracuda 7200rpm 120 GB. Hardware fitting
is a simple as doing it on a regular PC. Just make sure you have a Torx size 15
screw driver for internal the side support screws.
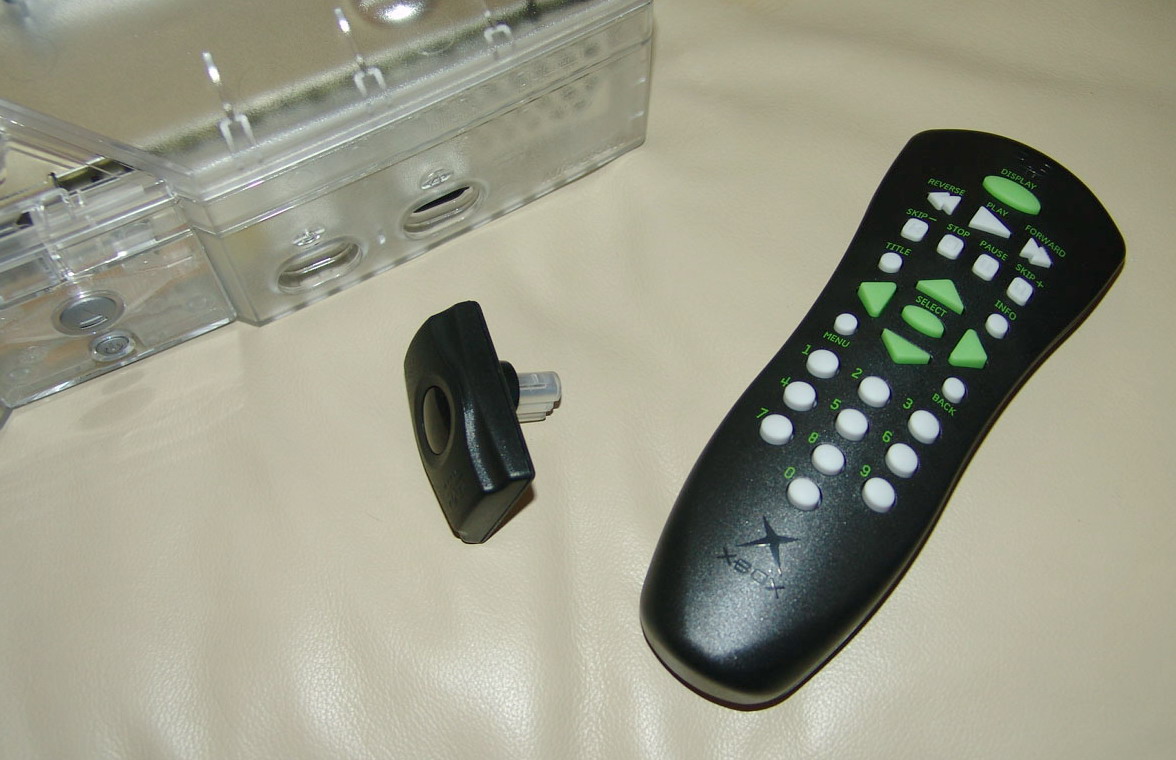
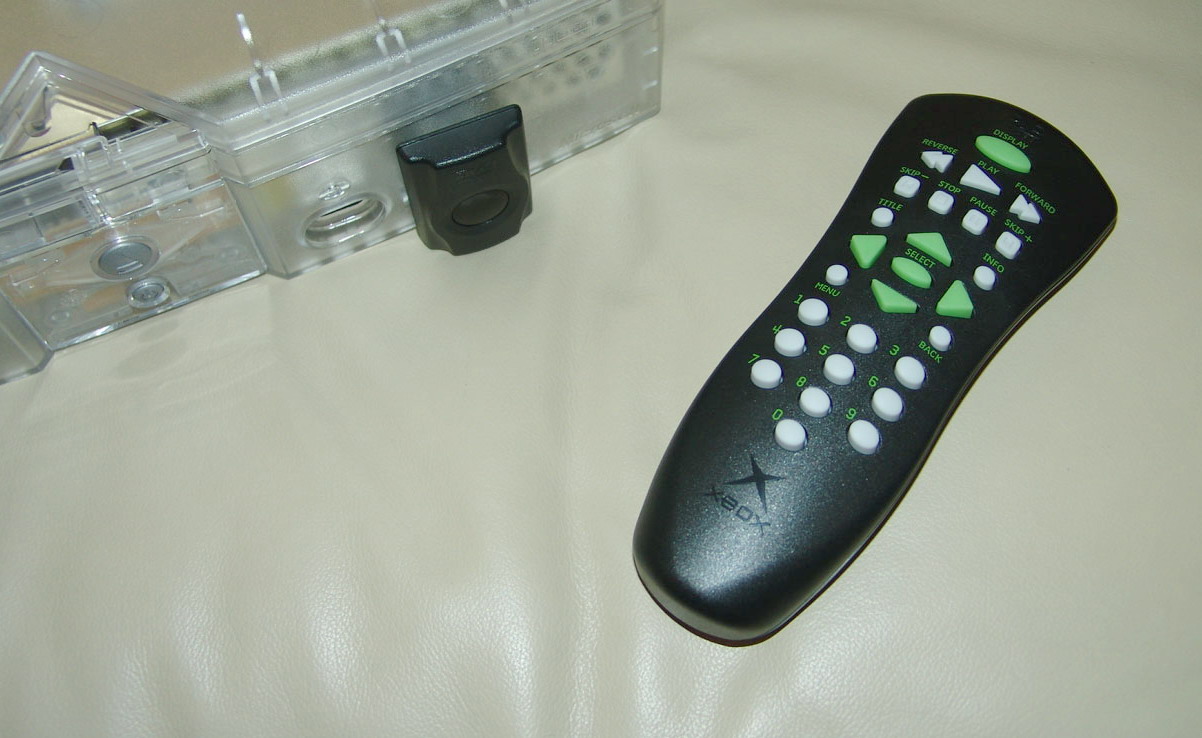
Original XBOX accessories range.
The Infrared (IR) device and the remote command.
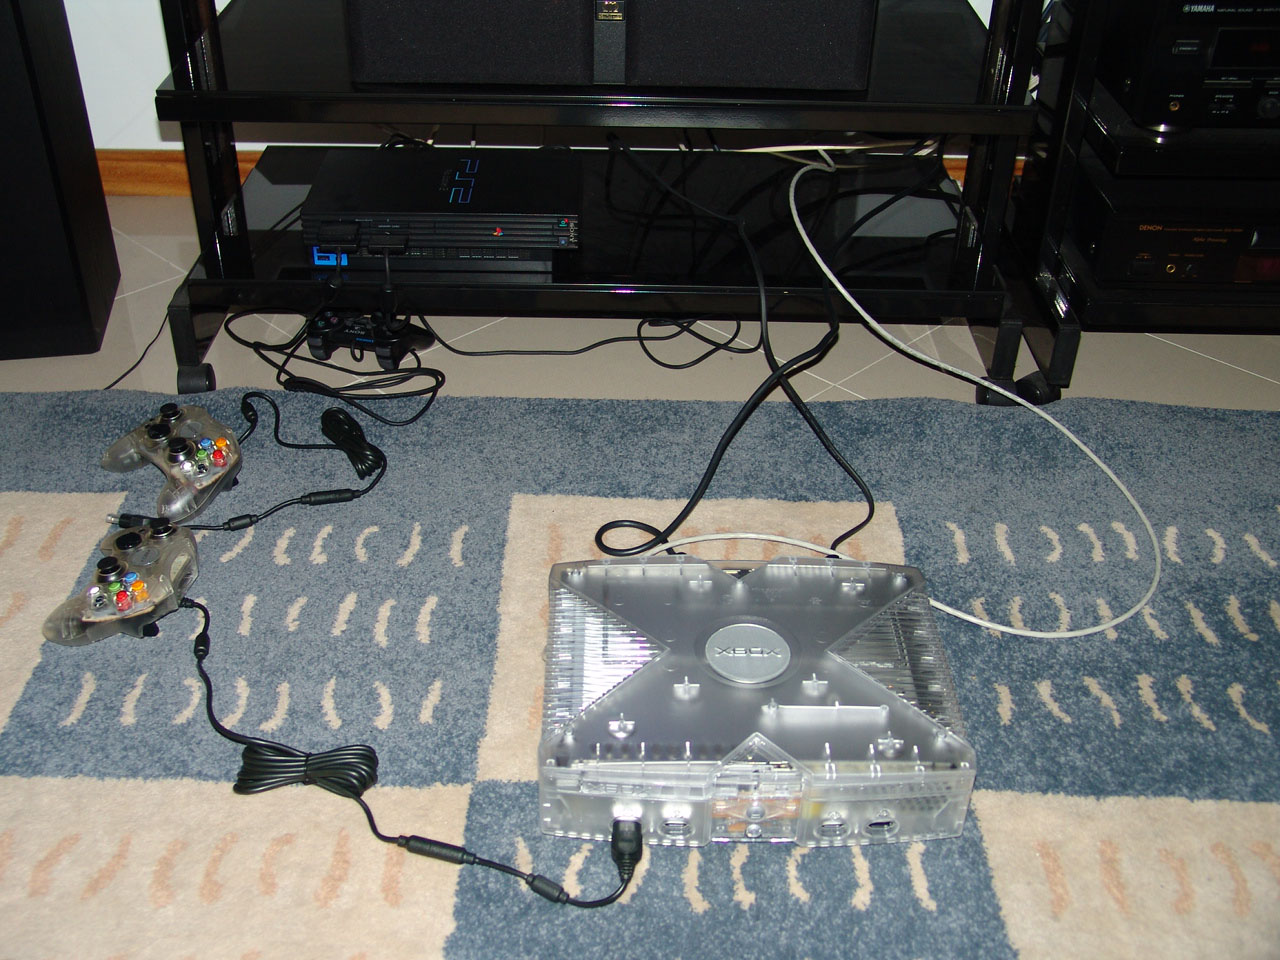

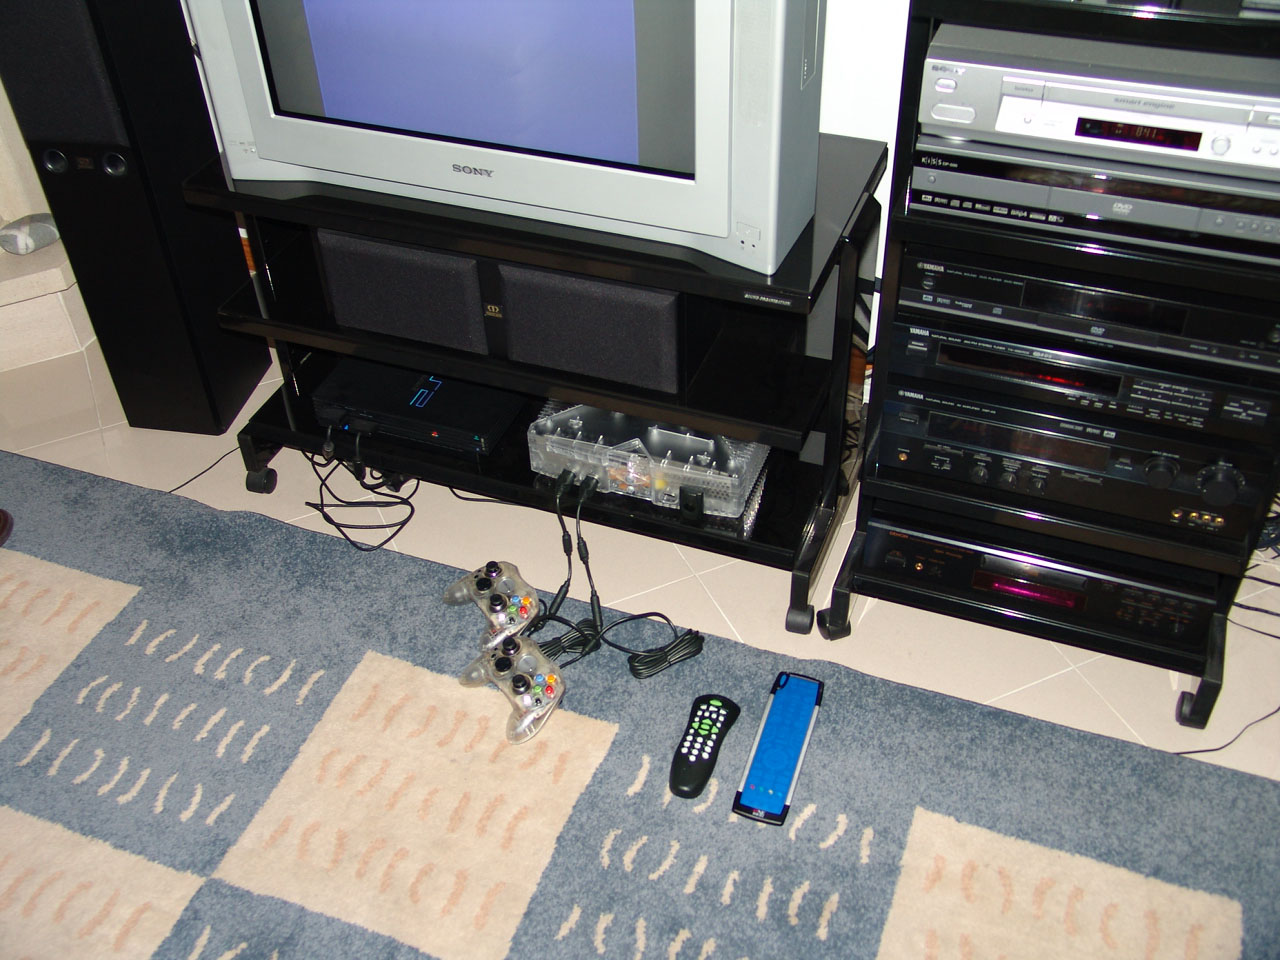
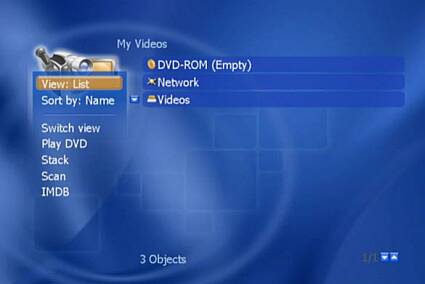
All setup along the rest of the home theater
center. XBOX Media Center was tested over the XBOX built in Network
Interface Card (NIC), Ethernet 10/100 Mbps, across UTP CAT5 cabling,
connecting to a central switch, where access was made to a local server
hosting a NTFS file share of multimedia files. The SMB configuration
was very simple and worked right on. Performance and easy of use are top
notch. For a full ilustrated and detailed review on the XBMC software please
check the excellent Tom's Hardware review at:
http://www6.tomshardware.com/consumer/20040511/index.html (I
reproduce some of Tom's screen captures bellow).
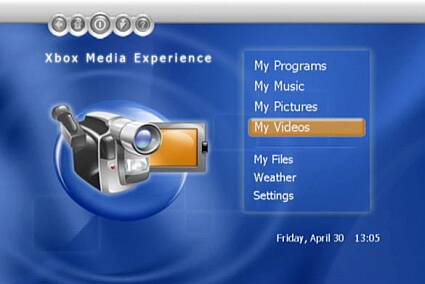
The XBox Media Centre up
and running. Photo (c)
tomshardware.com
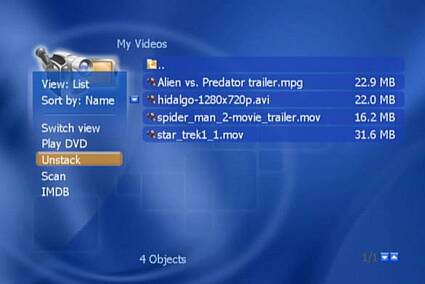
Tests were performed over a huge
diversity of video enconding format samples, ranging from DivX 3.a, 4.x and
5.x to XVID and XVID QPEL, all with different sound codecs (AC3, MPEG). I
still haven't found, on a test sample of +100 videos one that was not
reproduced with top notch performance.
Links
XBMC, The XBOX Media Center Software
>> XBMC - Xbox Media Center
Tom's Hardware detailed review on XMBC
>> http://www.tomshardware.com
X-B.I.T, DMS3 Mod Chip
>> http://www.dms3.com/
BIOS related
>> http://www.evolutionx.com
>> http://www.xbox-scene.com/bios_retail.html
Reference Guide and Support on Modchip and Software
>> Convert your Xbox into a media center
>> Local Mirror
Reference Guide and Support on Modchip and Software
>> This Guide Will Help You Flash A Bios
Summary on box open and chip fitting (high quality photos)
>> Khayman Box
Please
note that for privacy and security reasons all serial numbers and similar
unique identifiers were digitally blurred from the photos. Furthermore this
is a academic test of technology solutions, held on a private environment
and with strictly private goals. No commercial goals, either direct or
indirect, are either cause or consequence of this test. All brands and logos
are copyrighted by their owners. Photos are report text are both copyrighted
to:
webmaster@air-arms.com . All rights
reserved. Formal permission required for reproduction.