Detailed Setup for a
Chieftec Window Door
and a
Chieftec Blue Led Kit

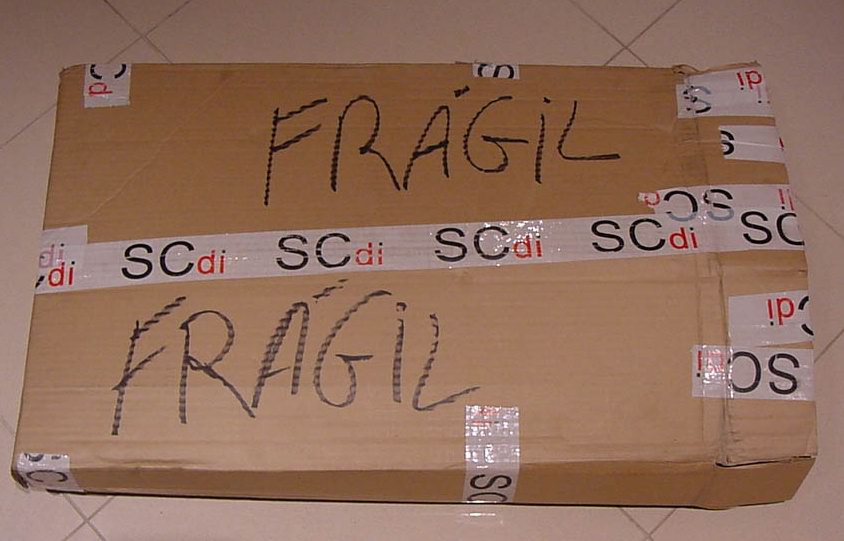


Unpacking the Chieftec original window door and led
kit
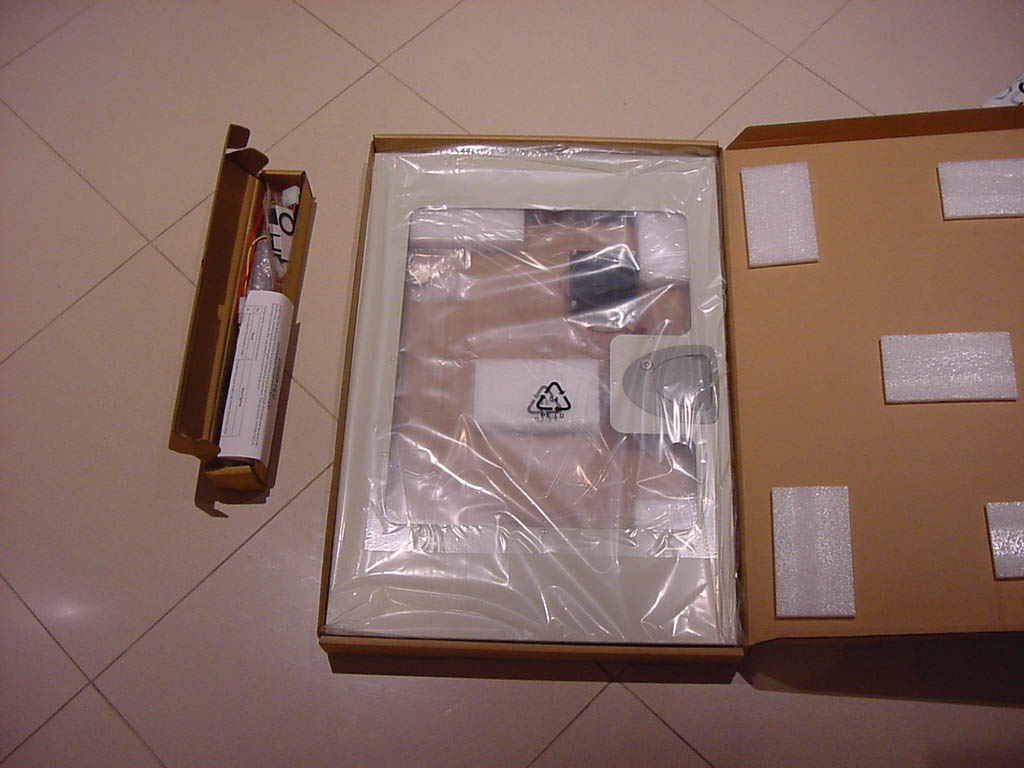


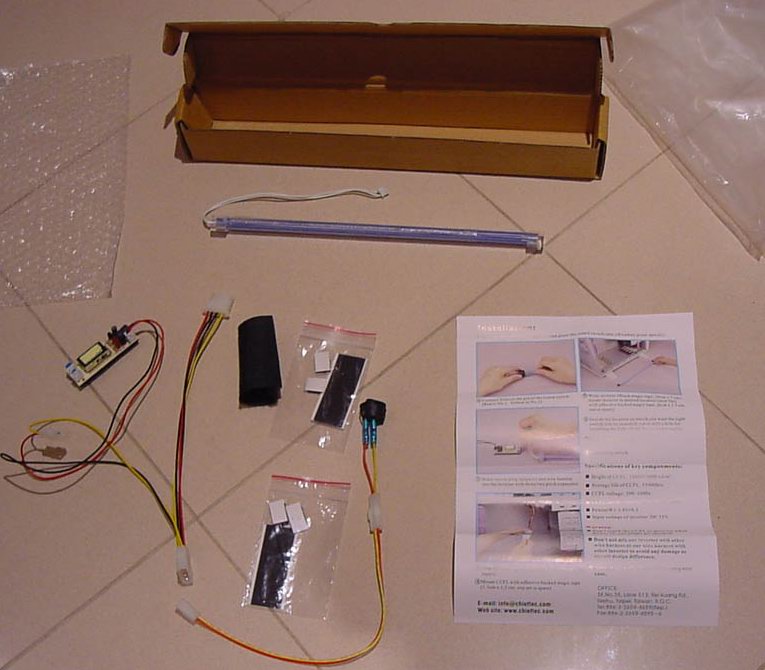
First look inside the cardboard packs. All in nice
protective and well placed
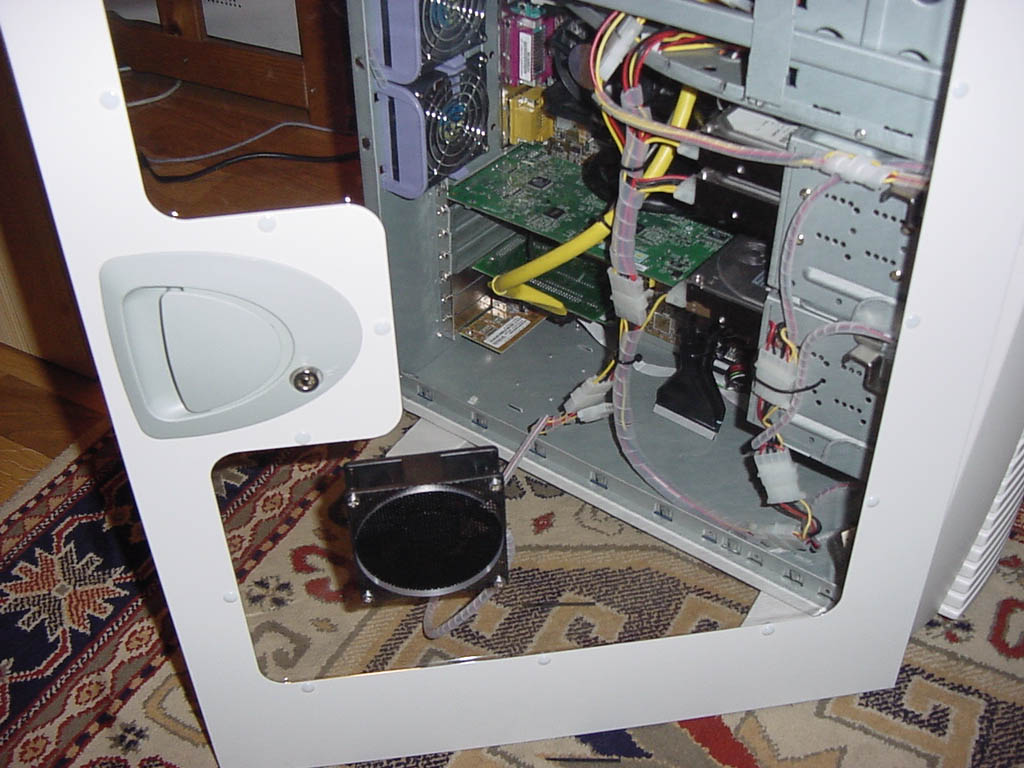
supportive "fits". Details of the door window with fan. Details of all the parts
on the blue led kit from Chieftec (power button, velcros, power extensions
and detailed spec and setup manual). All material of the best quality.
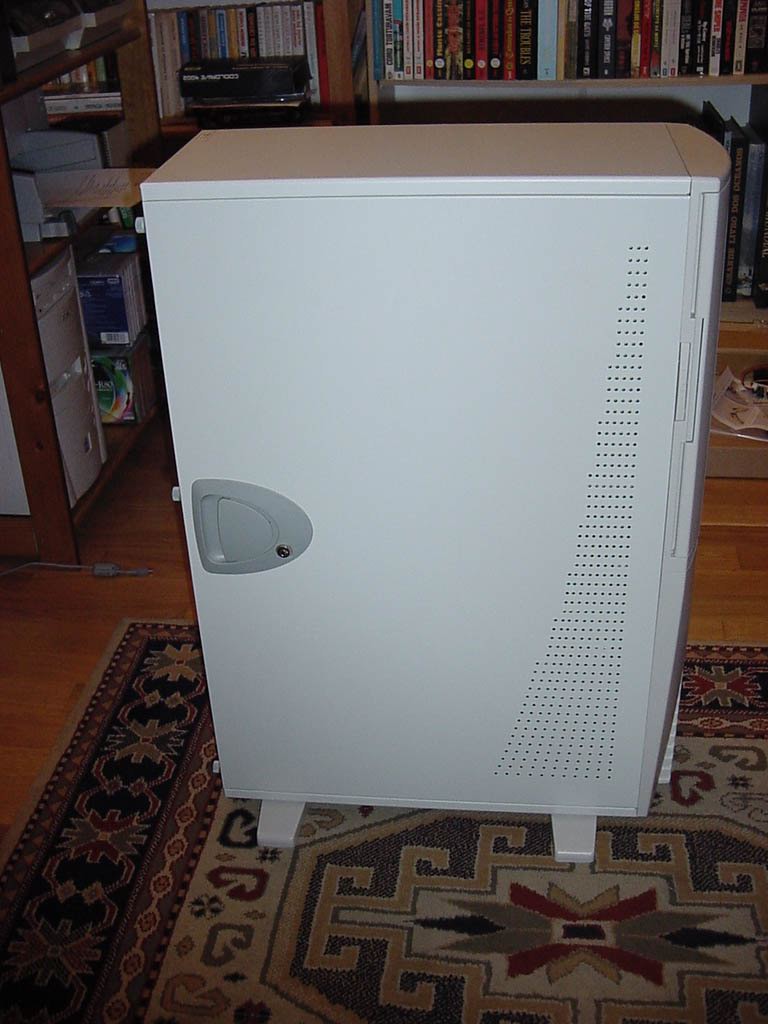

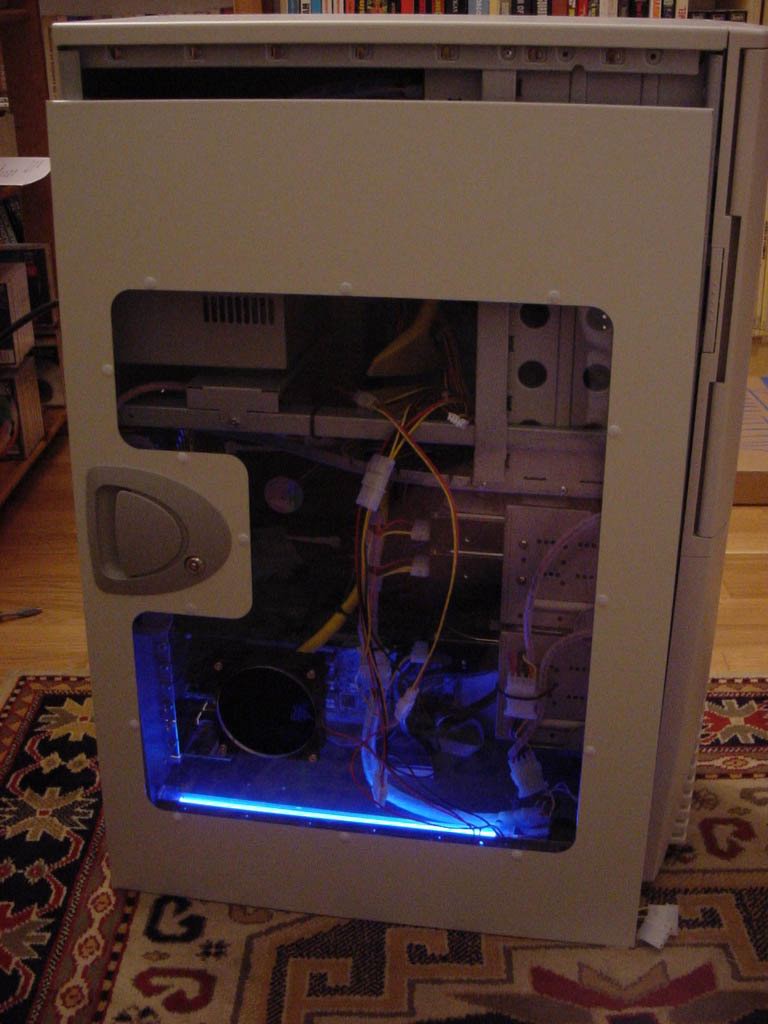
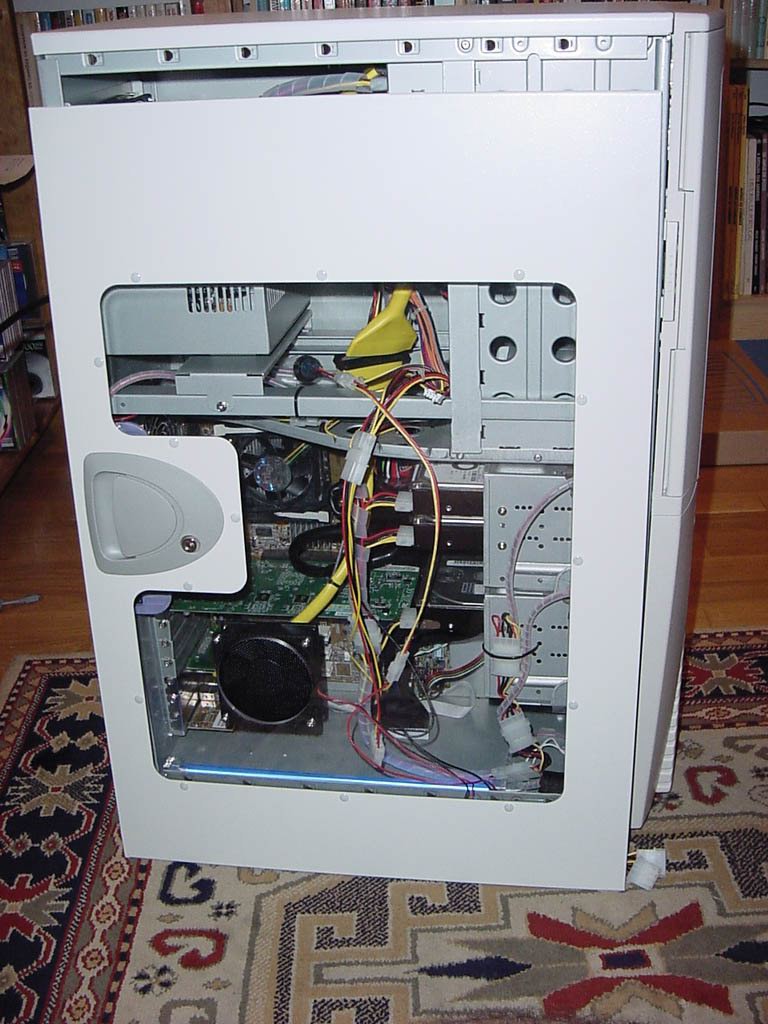
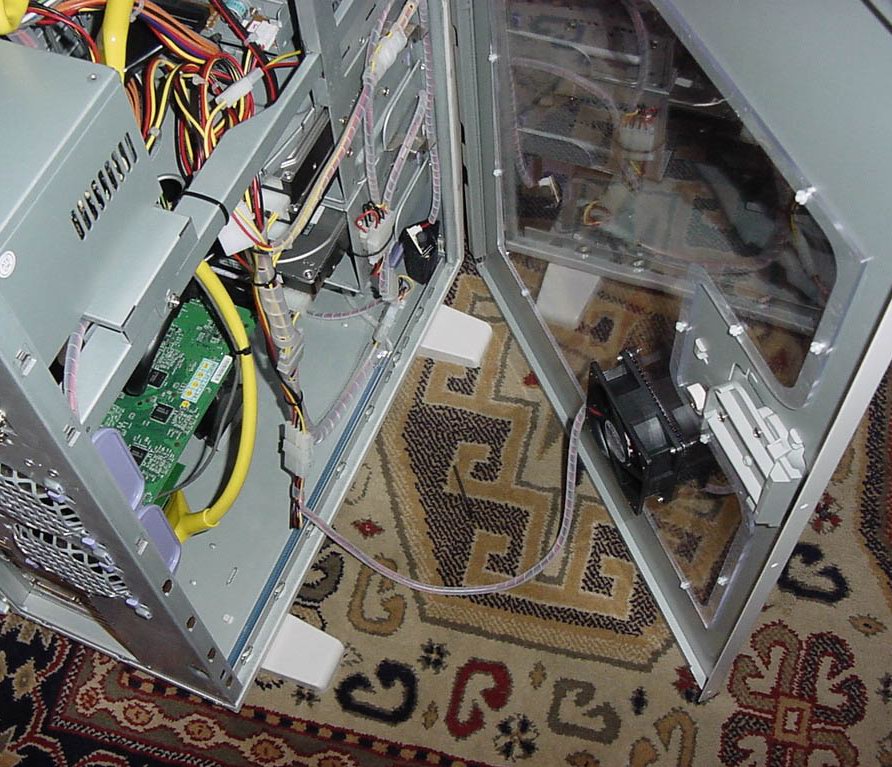
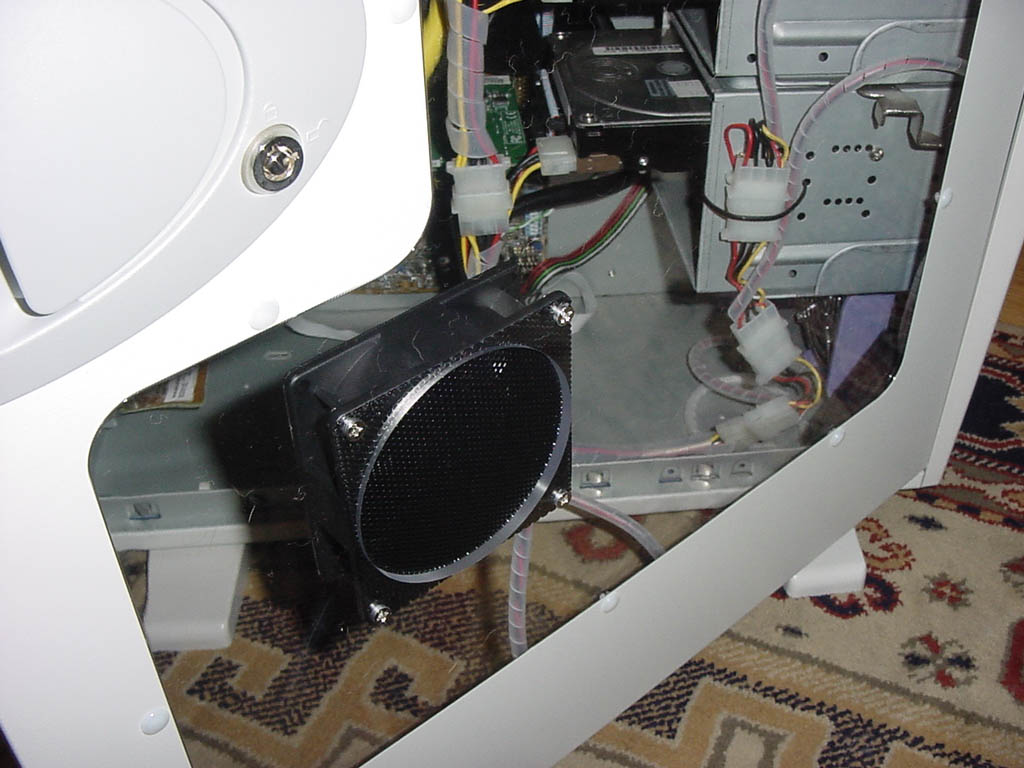
Getting the Chieftec full
tower in place for fitting. First tests for door fitting
and led kit power in. All fitted "perfectly" and at the first time with a
positive power on!
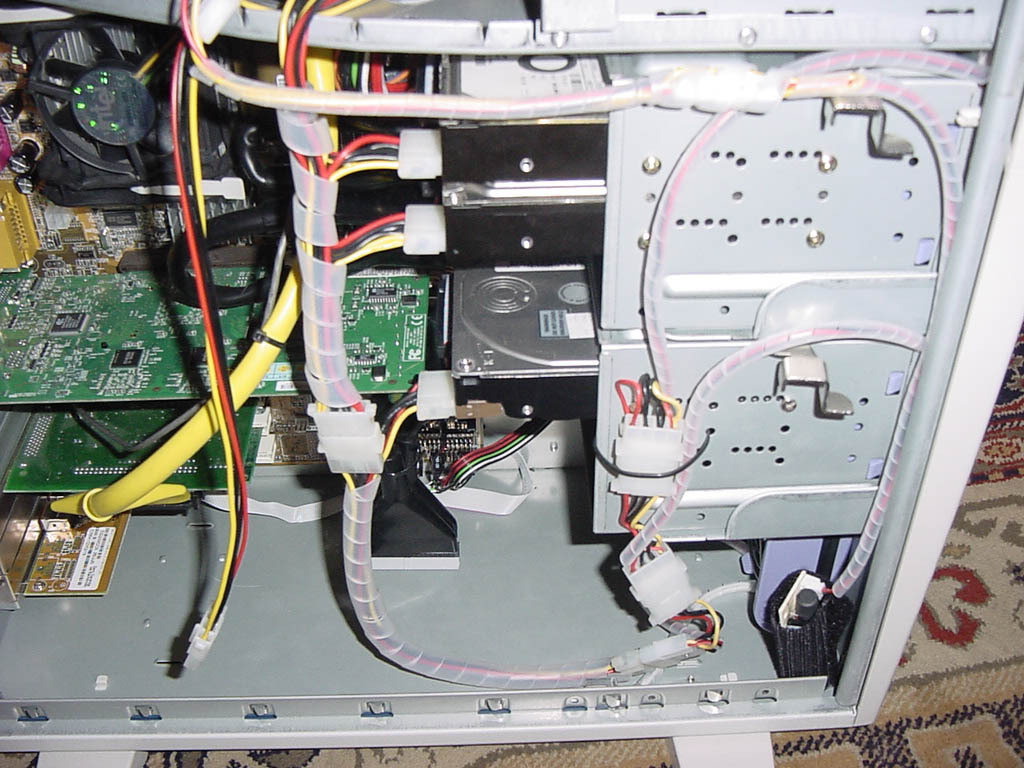
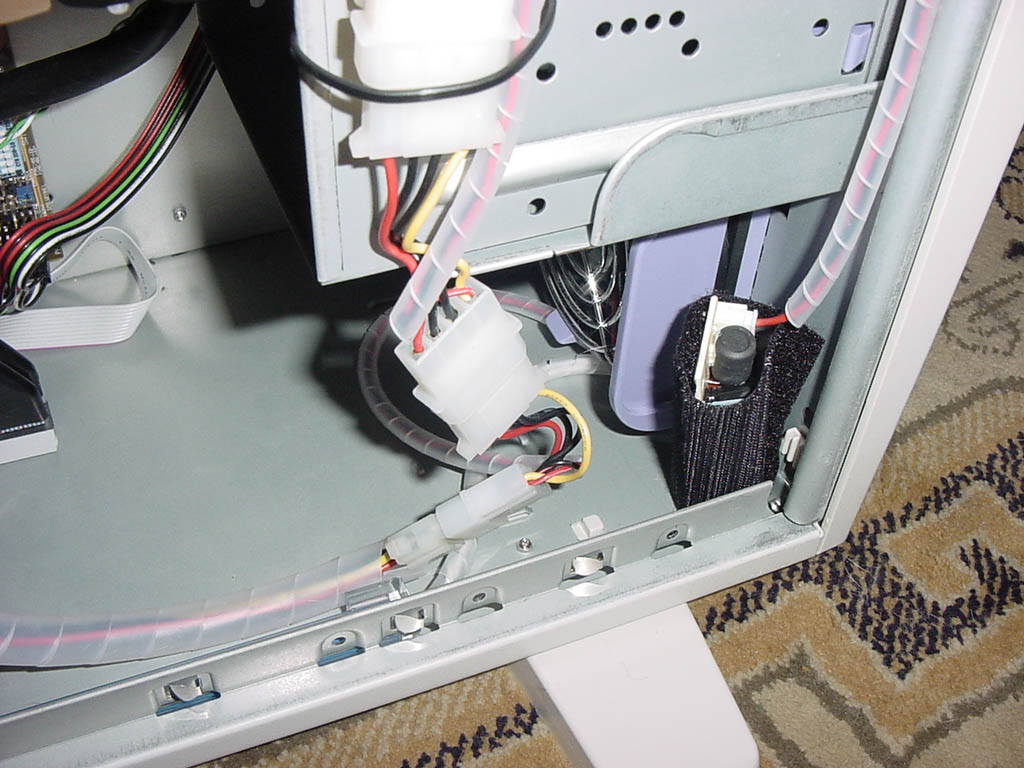
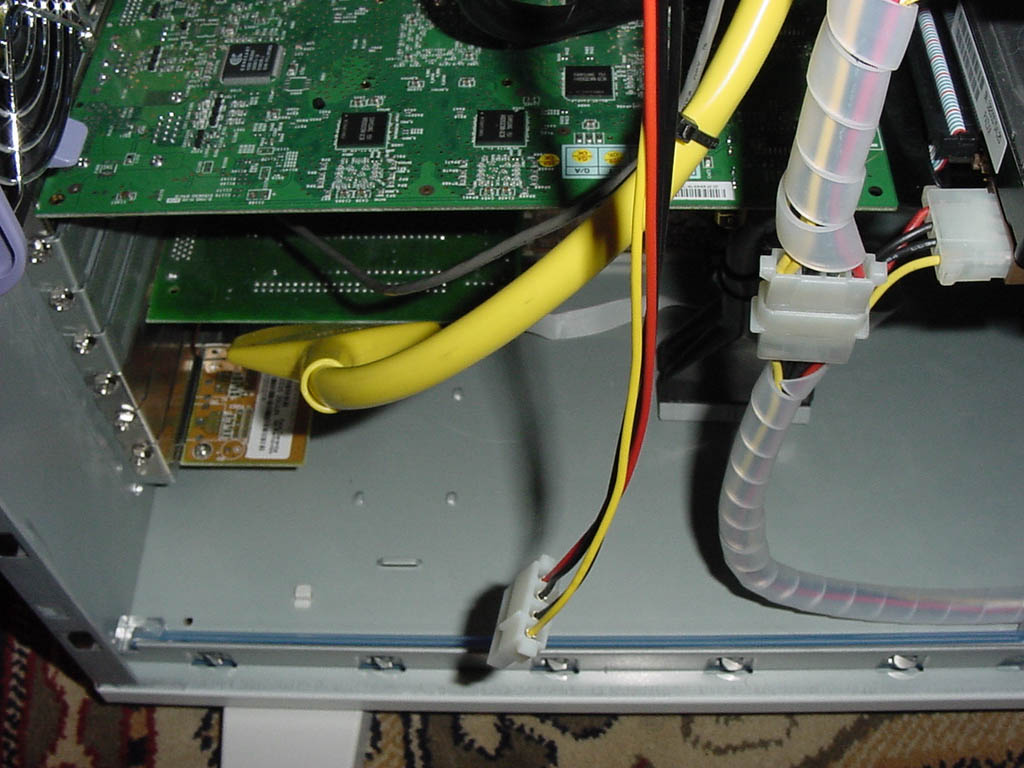
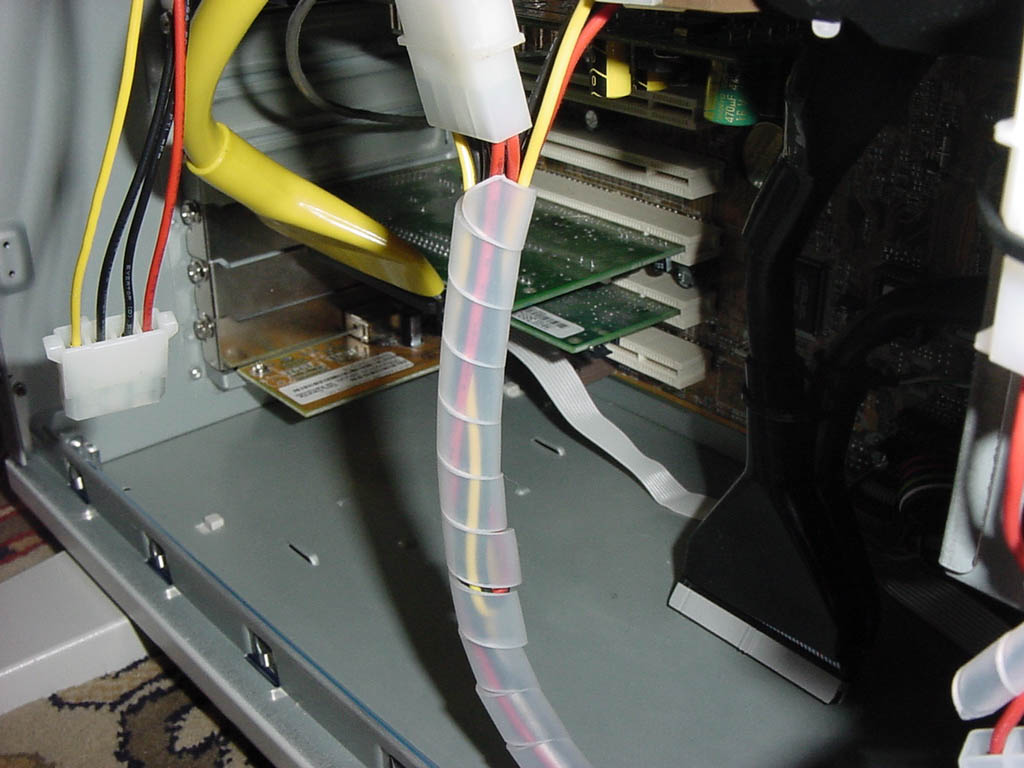
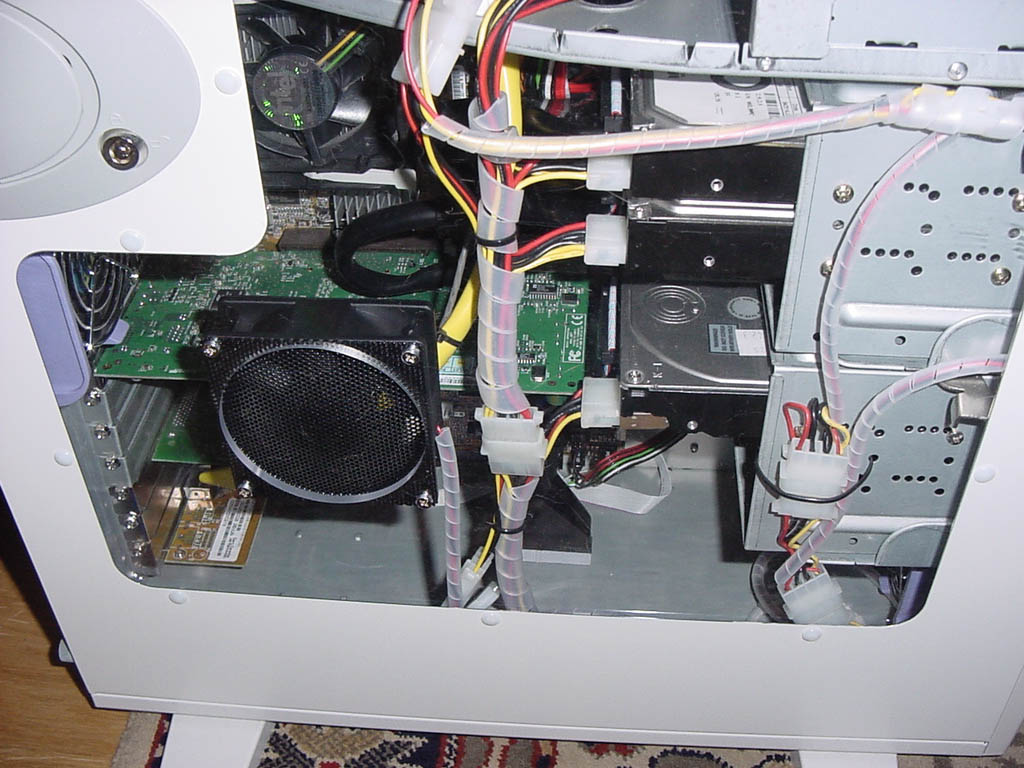
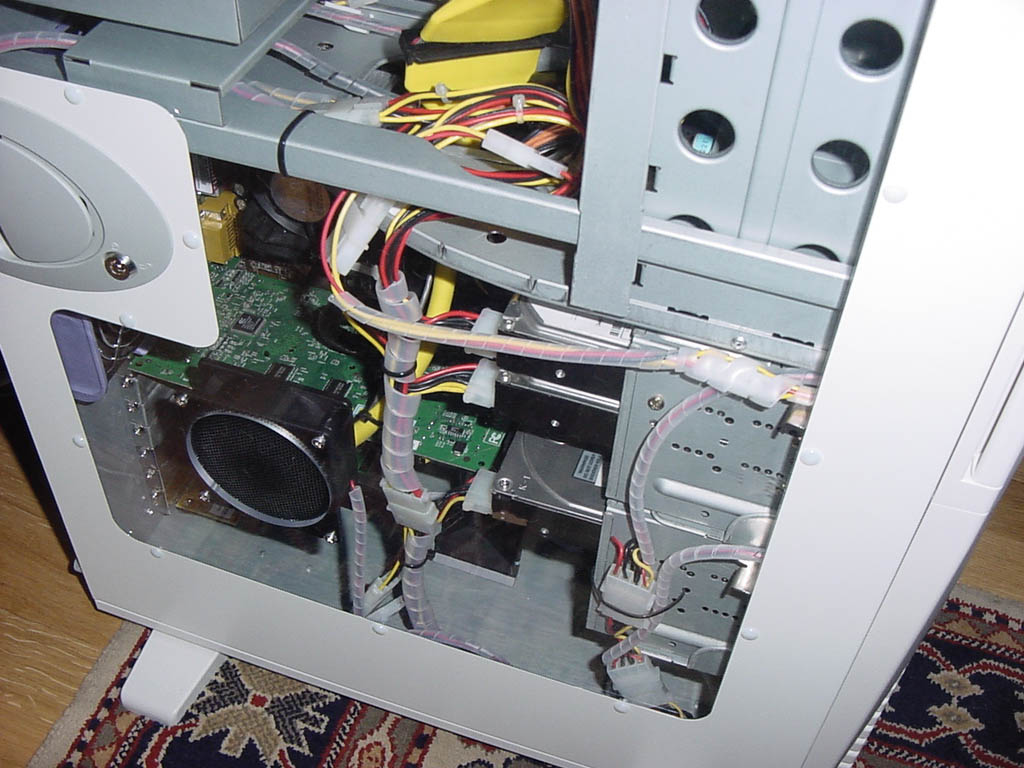
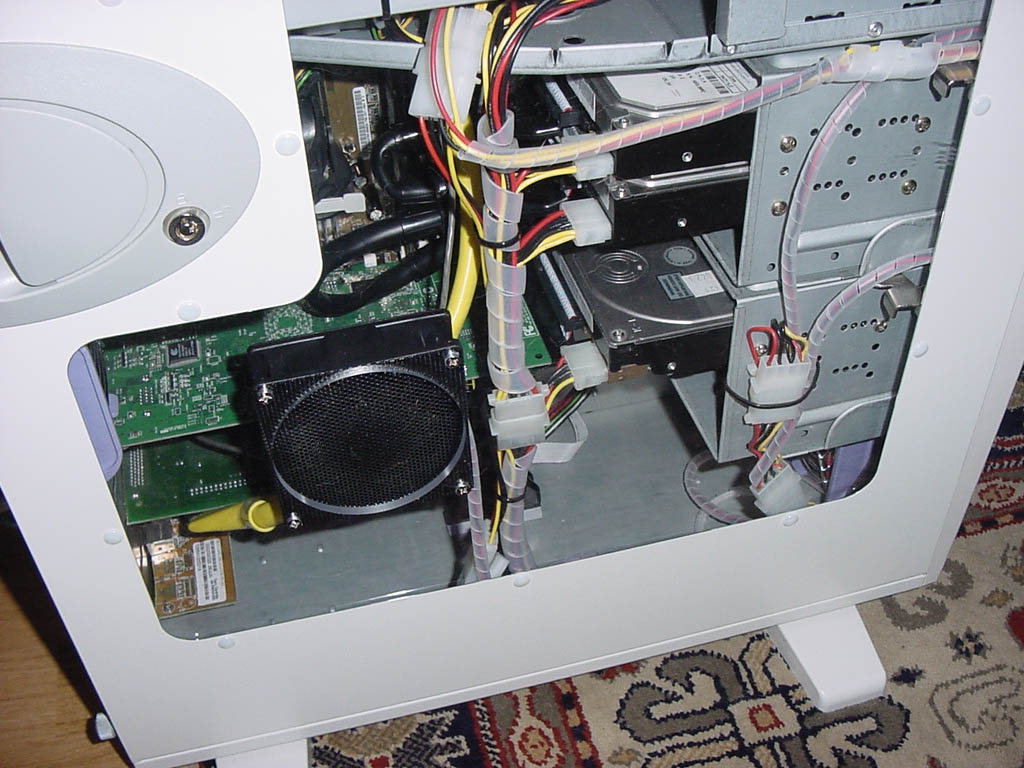
After the first "quick and dirty" fit in test, time
to check and organize all the
cabling: power cables for the extra side 80mm fan and for the power supply
for the blue led kit. Round in protective "pipes" fiited over all power cables.
More testing and "fit in" work over cables.
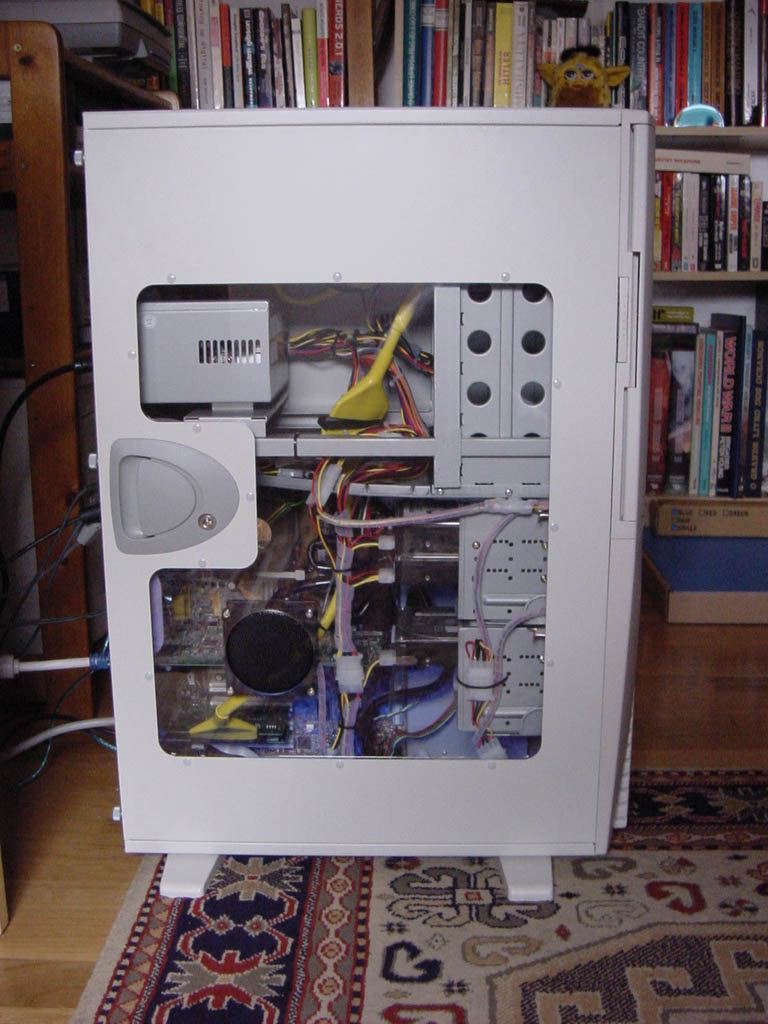
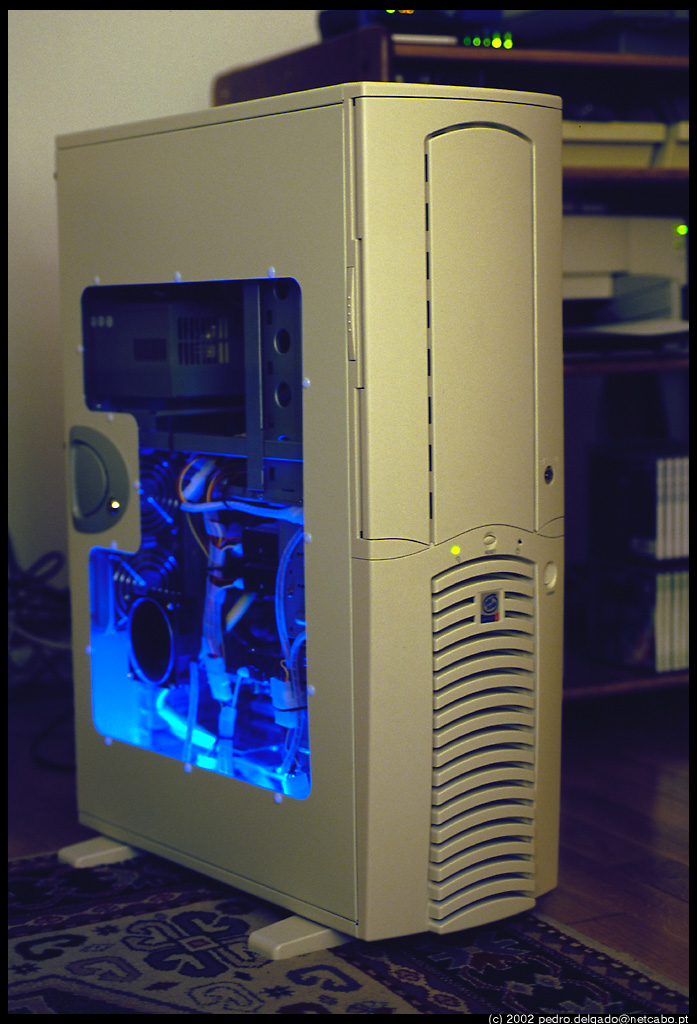
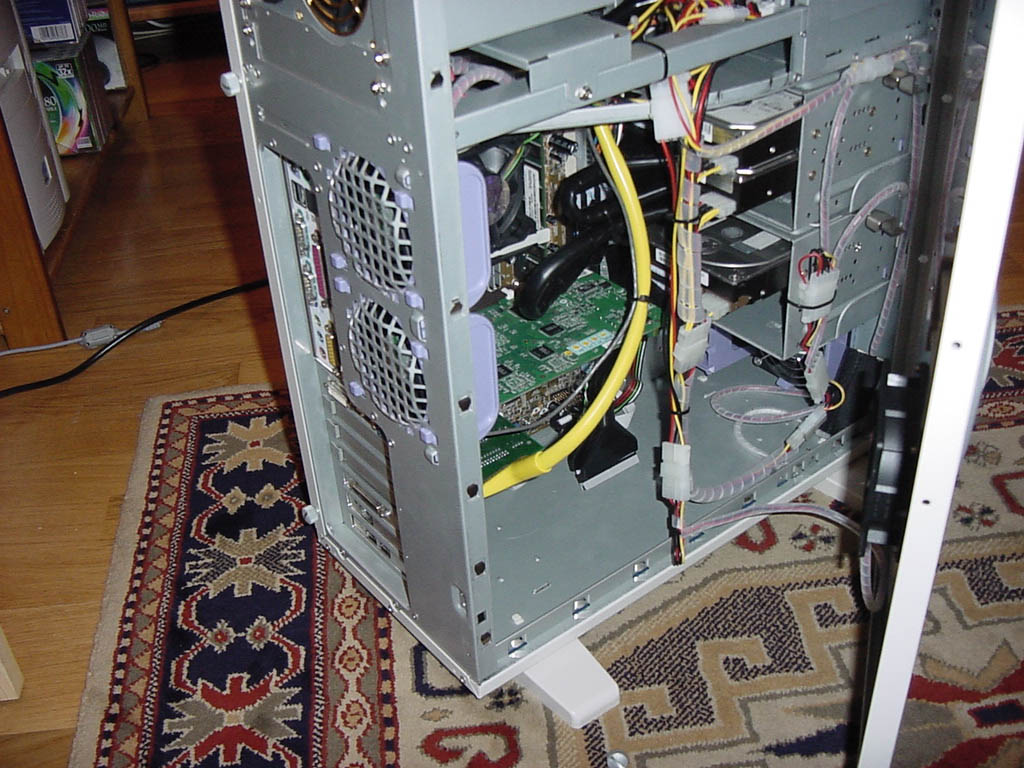
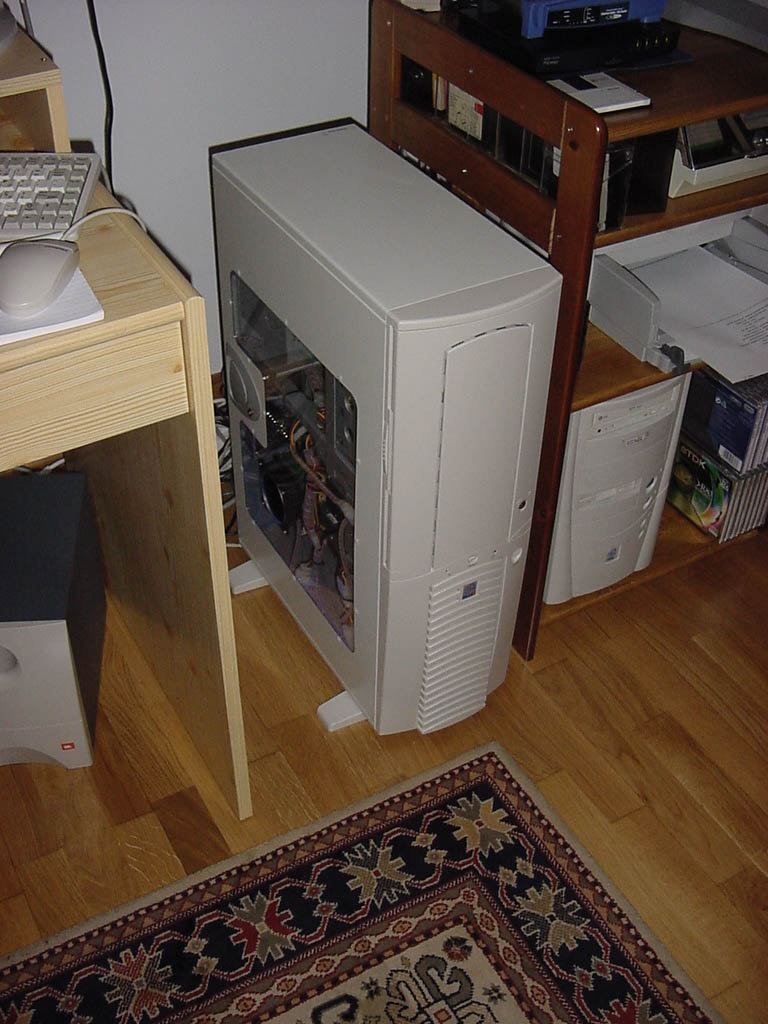
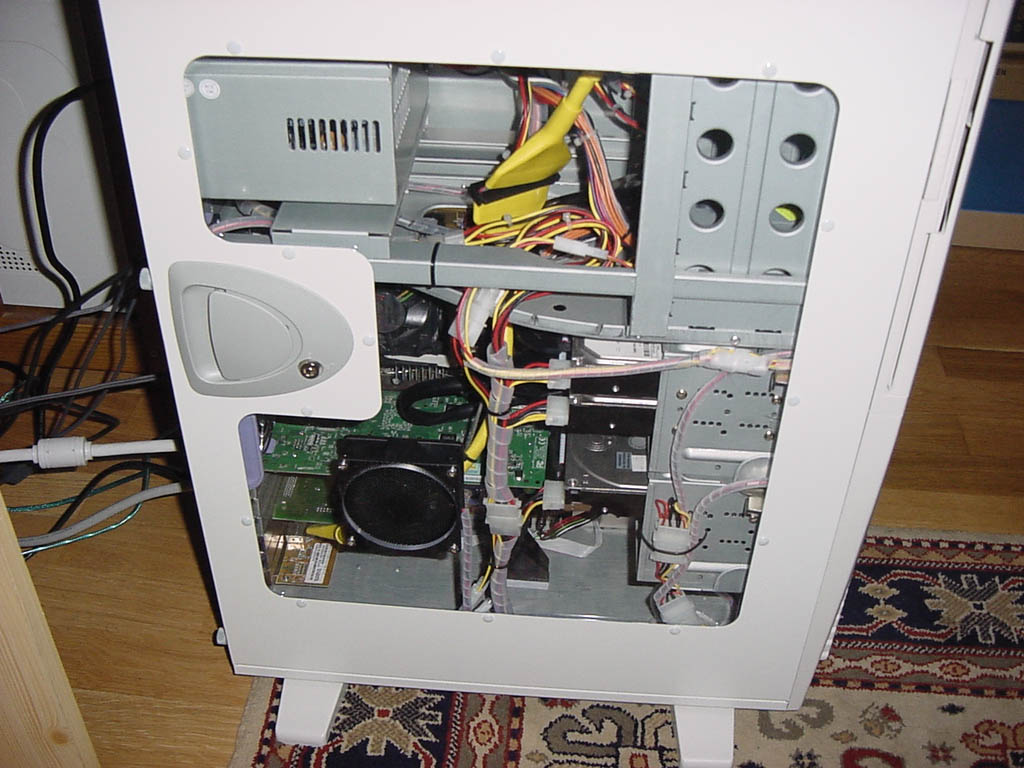
Ready to close and to setup in final position for
all.
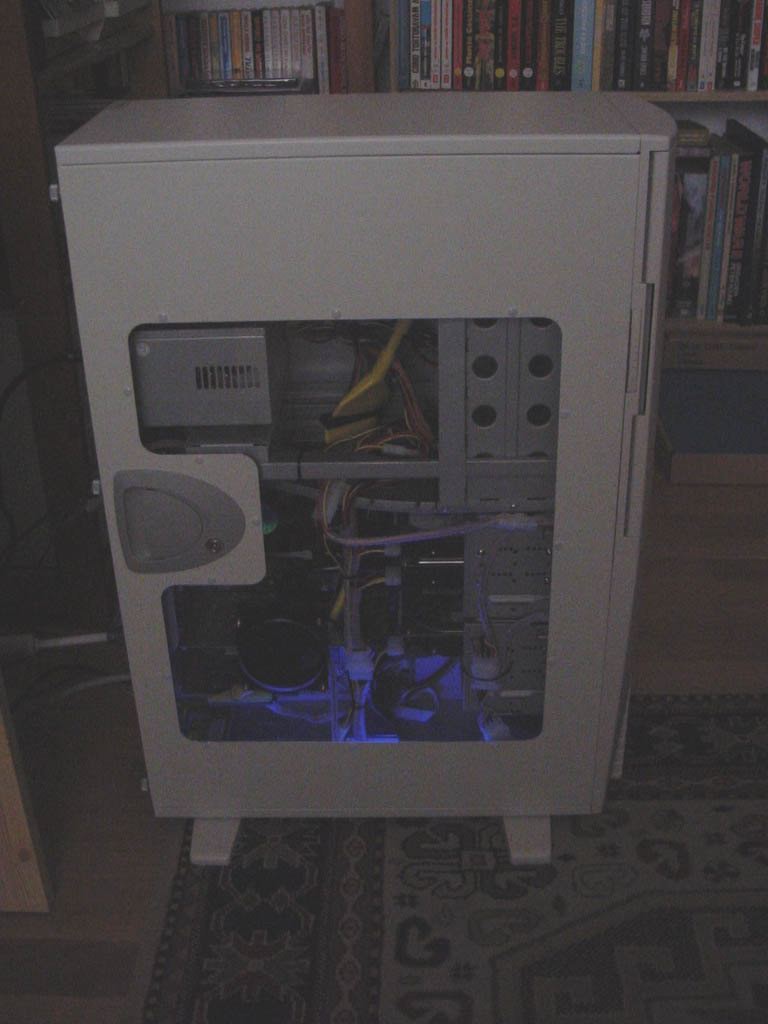
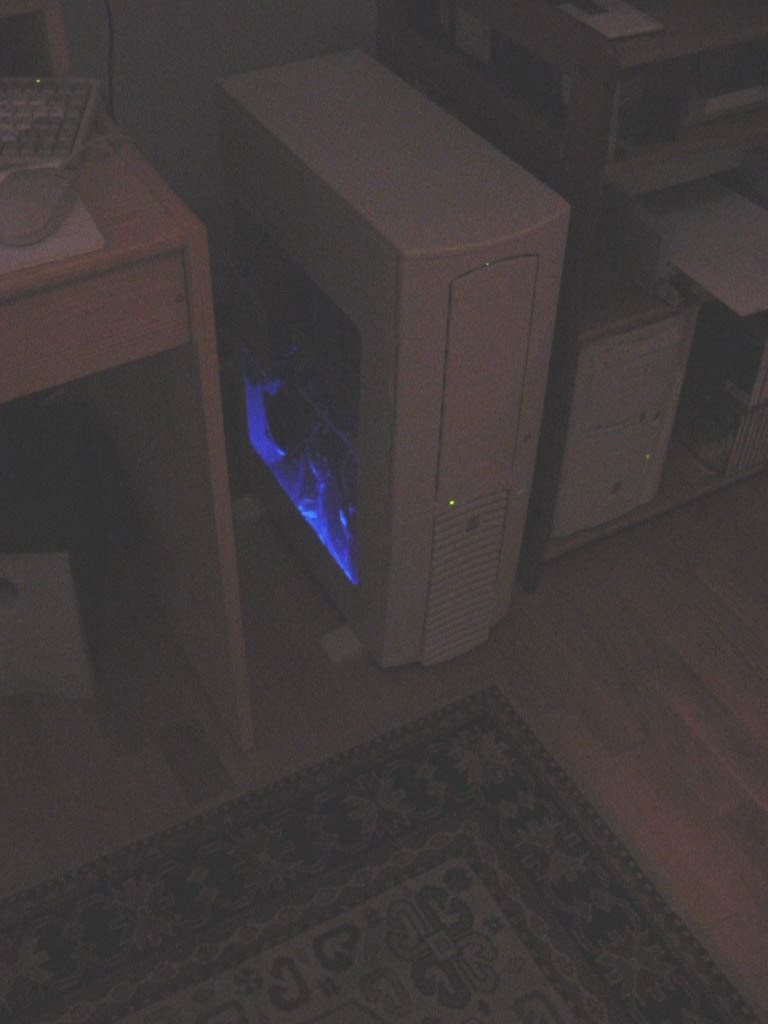
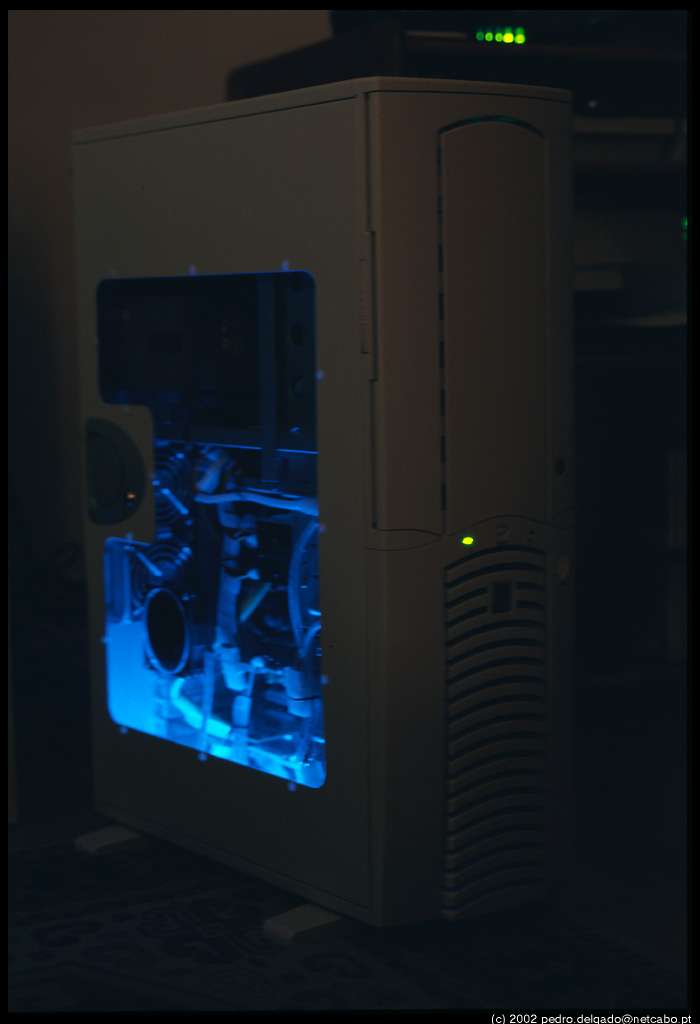
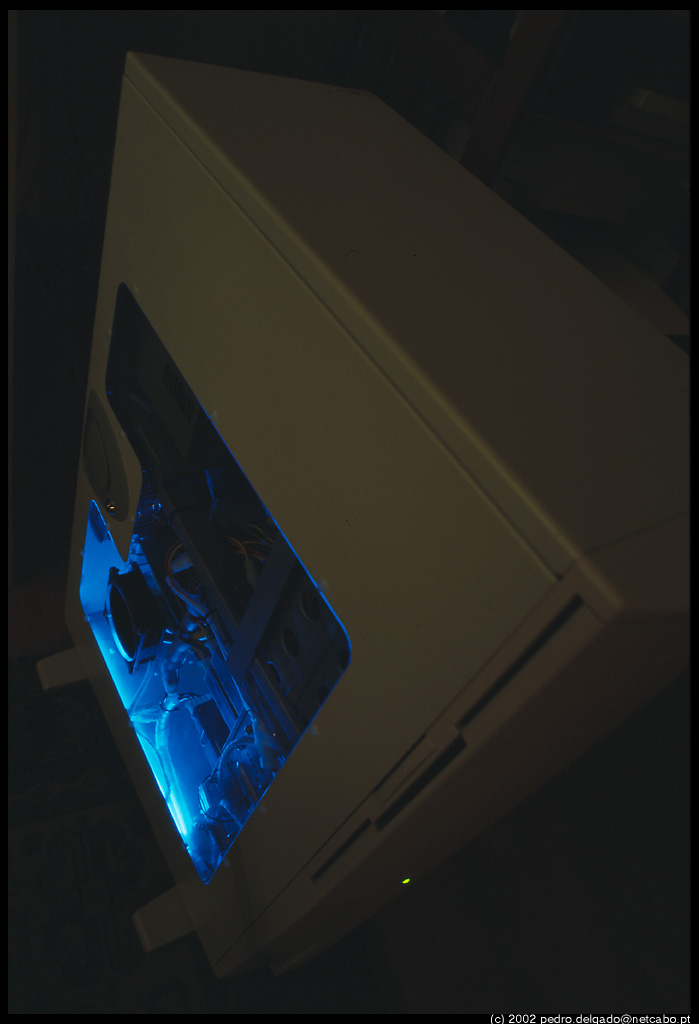
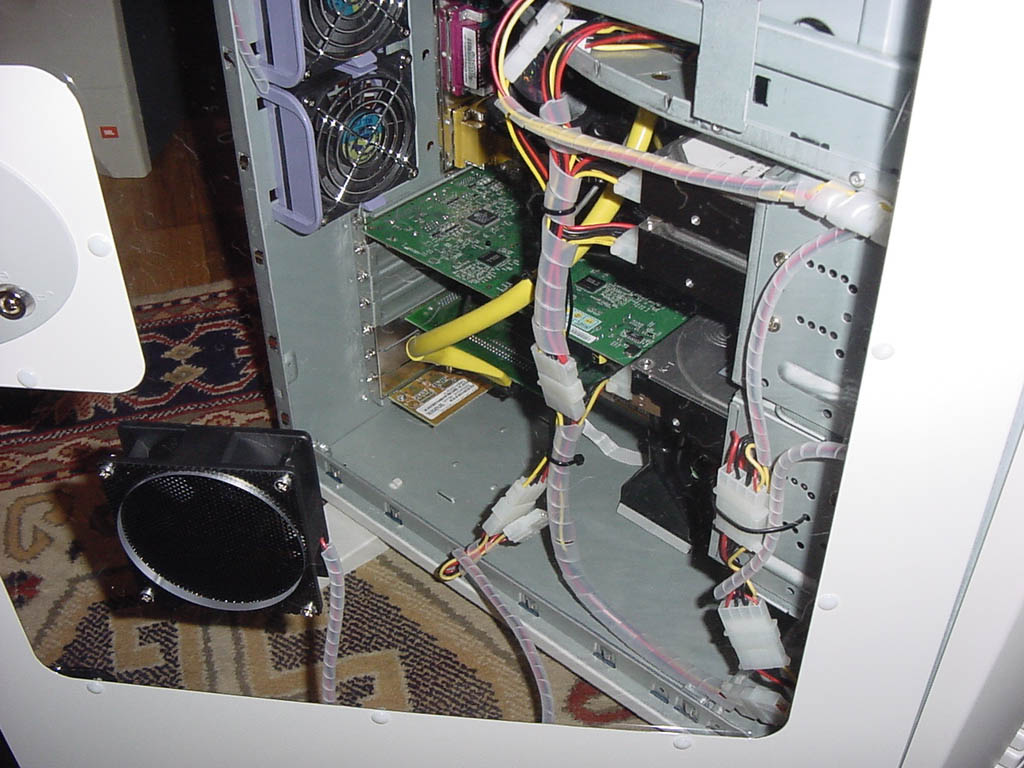
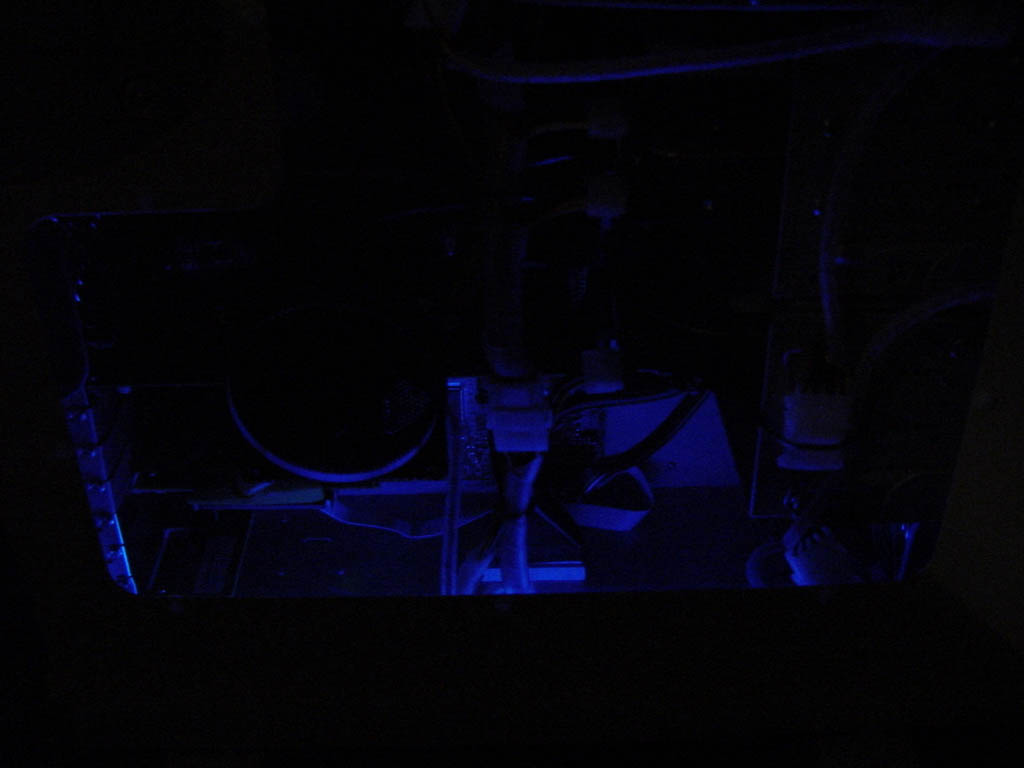
Up and running...
... details
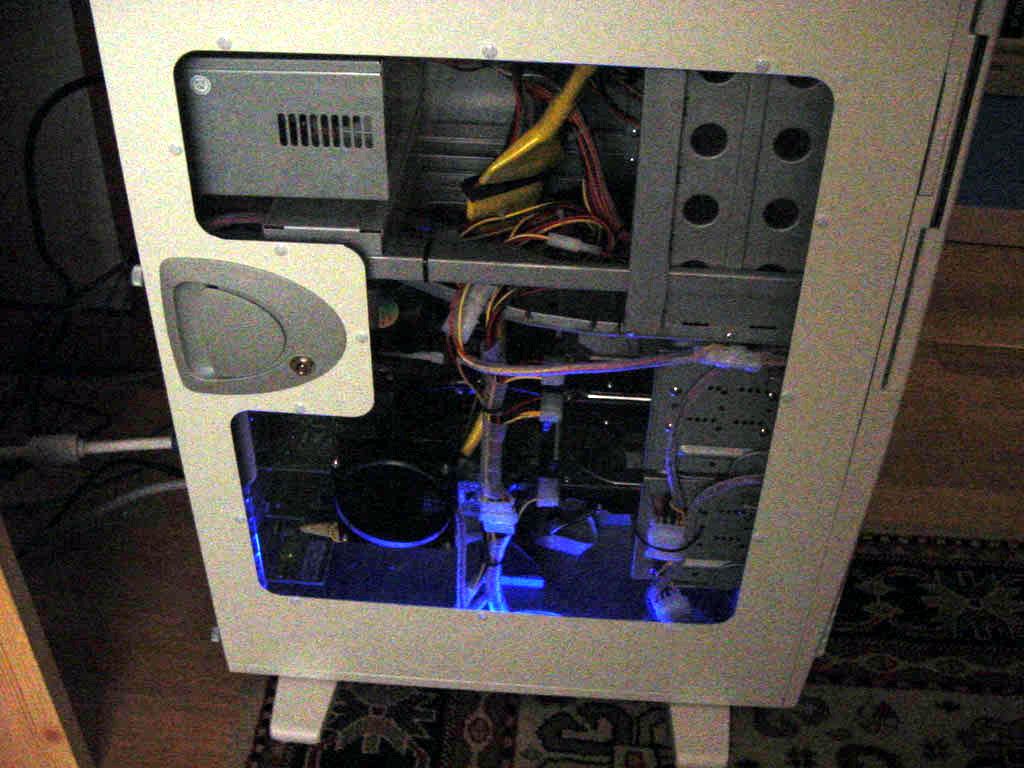
... more details
Final show case: Four high quality 35mm slide based
photos
by P. Delgado,
pedro.delgado@netcabo.pt
Case Mod and photos by P.
Mateus , webmaster@air-arms.com
Detailed step by step
photos of the previous full case mode here >>
|
Setup: |